
Signs you need this
- • A bumpy, dated ceiling texture that yellows over time and shadows every light fixture.
- • Popcorn texture that has started to flake, sag, or shed bits onto furniture and floors below.
- • Old water stains or repair patches trapped in the texture that paint alone will not hide.
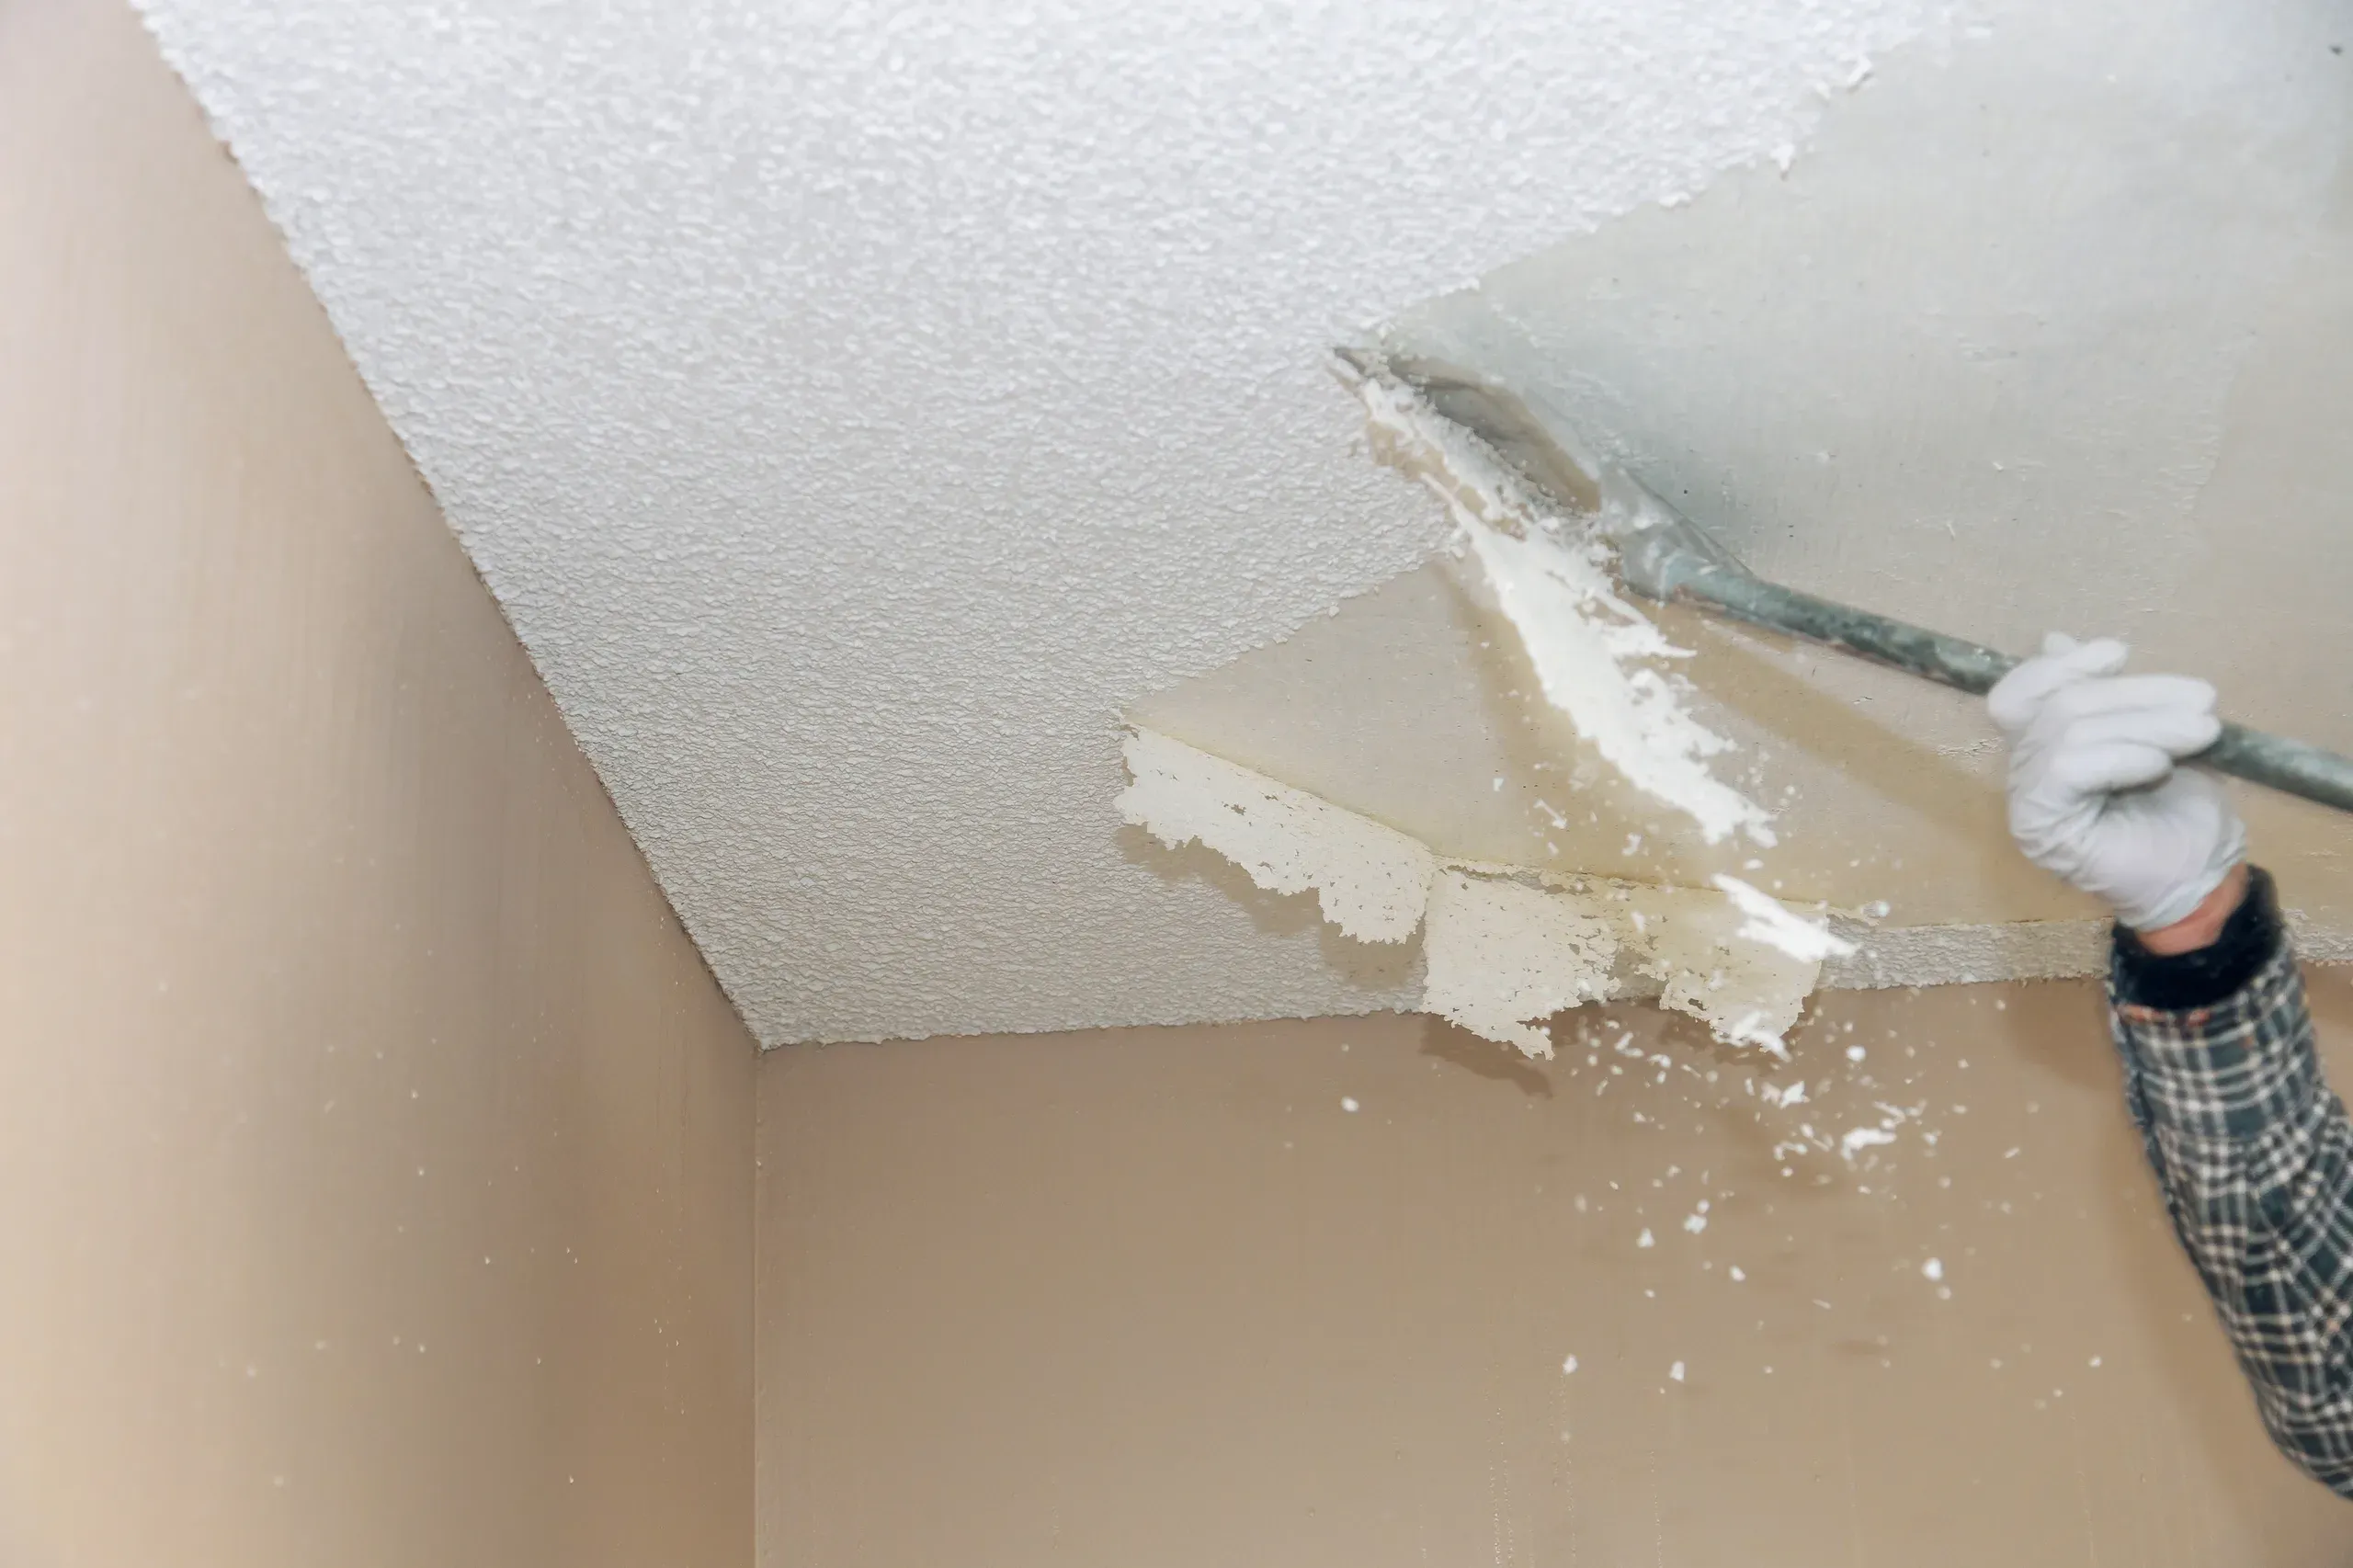
Providence Premier Drywall removes outdated popcorn and other sprayed acoustic ceiling texture and refinishes the ceiling smooth or to a current texture. Because sprayed ceiling texture applied before 1980 may contain asbestos, the first step is always the age question and, where it applies, testing before any scraping or sanding begins. Once a ceiling is cleared to work on, we either wet-scrape the texture off or skim-coat over it, repair whatever is underneath, and finish to match the rest of the room.
The age question comes before the ceiling question
Every popcorn removal job in Providence starts with the same question, and it is not about the texture, it is about the calendar. Sprayed acoustic ceiling texture was a standard finish from the 1950s through the late 1970s, and a lot of it contained asbestos until manufacturers phased the material out around 1980. That means the honest first step on a home built or last-textured before that window is testing, not scraping. Providence Premier Drywall arranges a sample test before any tool touches the ceiling, because scraping or sanding untested texture is exactly how asbestos fibers become airborne. A negative test clears the ceiling for a normal wet-scrape. A positive test does not mean the job is off the table; it means the approach changes, either to a skim coat that encapsulates the material in place or to licensed abatement first, handled under lead-safe and asbestos-safe practice before any drywall finishing starts.
Wet-scrape or skim-over: how we decide
Once a ceiling is cleared to work on, the choice between wet-scraping and skim-coating comes down to what is actually up there. Wet-scraping mists the texture to keep dust down, then removes it down to the original ceiling surface, which is the right call when the texture is asbestos-clear and comes off cleanly without tearing the paper face of the board or the plaster skim coat underneath it. Skim-coating over the texture, rather than removing it, is often the better move on a ceiling where testing showed asbestos present, since it encapsulates the material without disturbing it, or where the surface underneath the texture is too rough, cracked, or unevenly troweled to guarantee a clean scrape. Either path ends at the same finish, but the decision has to be made before work starts, not discovered halfway through a scrape.
What’s under the texture matters as much as what’s on it
Providence’s housing stock through Elmhurst and Smith Hill runs from postwar ranches and capes to older two- and three-family houses that picked up a popcorn ceiling in a later renovation, so what is underneath the texture varies more than homeowners expect. Some ceilings are drywall with a thin skim of texture sprayed directly on. Others are old plaster that got a texture coat decades ago to hide cracking or an uneven surface, and that plaster can crumble the moment a scraper puts pressure on it. We check the substrate before committing to wet-scraping, because a ceiling that looks like straightforward drywall from below can turn out to be tired lath-and-plaster that needs its own repair once the texture comes off. Either way, once the ceiling is bare, we patch cracks, fastener pops, and old water stains, seal any residual staining with a stain-blocking primer so it cannot bleed through the new finish, and tape and coat to the level the room calls for.
Finishing the ceiling once the texture is gone
Most homeowners who remove a popcorn ceiling want it flat, and a flat ceiling under can lighting or a window wall shows every imperfection, which is why we default to a Level 4 finish and step up to Level 5 on ceilings that will sit under strong raking light. A smooth ceiling reads as the most current option and pairs cleanly with any wall texture, which is part of why it is the default choice on a full remodel. Some homeowners choose a lighter, more current texture instead of going fully smooth, and we finish to whichever direction the room calls for, matching the result to the rest of the space so the ceiling does not read as a separately redone piece sitting on top of an otherwise unified room.
Materials & standards
Products & materials we use
- USG Mold Tough / PURPLE
- Stain-blocking / PVA primer
- Setting-type joint compound
Standards & codes we work to
- EPA RRP (pre-1978 lead-safe practices)
- GA-214 finish Levels 4 and 5
- ASTM C840
What the terms mean
- Wet-scrape
- Skim-coat
- Acoustic ceiling texture
- Asbestos testing
- Encapsulation
- Raking light
- Level 4/5 finish
Options & variants
| Option | When it applies | Cost |
|---|---|---|
| Wet-scrape and refinish | Texture tests asbestos-clear and comes off cleanly with moisture | Lower scope |
| Skim-coat over existing texture | Testing shows asbestos present, or the surface underneath is too rough for a clean scrape | Moderate scope |
| Full removal and re-hang | Substrate is water-damaged, cracked, or sagging beneath the texture | Largest scope |
What affects cost
- • Whether the ceiling tests positive for asbestos, since a positive result and any required abatement changes the whole scope before drywall work starts.
- • Total square footage and ceiling height, since higher or vaulted ceilings need staging or scaffolding.
- • Condition of the substrate once the texture is gone, sound plaster or drywall versus cracked or crumbling material that needs patching first.
- • Finish level chosen for the new ceiling, a flat Level 4 or Level 5 smooth surface versus a lighter replacement texture.
- • Furniture, flooring protection, and dust containment needs in a home that stays occupied during the work.
What to expect
- 1
Call and describe the ceiling
You tell us the ceiling's age and what you want the finished room to look like, and we talk through whether testing needs to happen before anything else.
- 2
Arrange asbestos testing if needed
If the home or texture predates 1980, we arrange testing before any scraping, sanding, or disturbance of the material begins.
- 3
Contain the room
We seal off the room and protect the floor and lower walls, since scraping textured ceiling generates a lot of debris.
- 4
Remove or encapsulate the texture
Depending on the test result and the texture's condition, we wet-scrape it off or skim-coat over it without disturbing it.
- 5
Repair and finish
We patch and repair the ceiling substrate underneath, then tape and coat to the finish level you chose.
- 6
Prime and clean up
We prime the finished ceiling paint-ready and clean the room before we leave.
When this isn’t the right call
- If the ceiling texture itself is sound and only the color has dated, a repaint may be all that's needed, not removal.
- If the goal is blending a repair into existing knockdown or orange-peel texture rather than removing texture entirely, drywall texture matching is the better fit.
- If the ceiling is old plaster over lath failing structurally, not just cosmetically outdated, plaster repair and conversion is the better fit.
Frequently asked questions
How do I know if my popcorn ceiling has asbestos? +
Age is the first clue. Sprayed acoustic texture applied before 1980 may contain asbestos, since it was a common additive until it was phased out. We do not guess based on the year alone; we arrange testing of a sample before any scraping or sanding starts, since disturbing untested material is the real risk, not the ceiling itself.
What happens if the test comes back positive? +
We do not scrape it. Depending on the result and the room, the ceiling gets skim-coated over intact, which encapsulates the texture without disturbing the fibers, or a licensed abatement contractor removes it under lead-safe and asbestos-safe practices before we do any drywall finishing.
Is wet-scraping messy? +
It generates a lot of debris, so we sheet the floor and lower walls, seal the room off from the rest of the house, and mist the texture to keep dust down before scraping. Plan on the room being out of use for a few days.
Can you just skim-coat over the popcorn instead of scraping it off? +
Yes, and it is often the better call, either because testing shows asbestos present and skim-coating over it avoids disturbing the material, or because the substrate underneath is too rough to guarantee a clean scrape. Skim-coating adds a layer of compound over the existing texture and finishes flat.
What will the ceiling look like when it's done? +
Most homeowners choose a flat, smooth Level 4 or Level 5 finish, since that reads as updated against new paint and trim. Some choose a lighter, more current texture instead. Either way we match the finish to the rest of the room so the ceiling does not stand out as separately redone.
Do I need to move out during the work? +
No, but the room itself will be sealed off with dust containment and unusable for the duration, typically a few days for an average room depending on scope, testing turnaround, and drying time between coats.