Providence Premier Drywall logo Providence Premier Drywall

Drywall Services in Providence, RI

Residential and commercial drywall — each entry links to a full breakdown of cost, process, and what to expect.

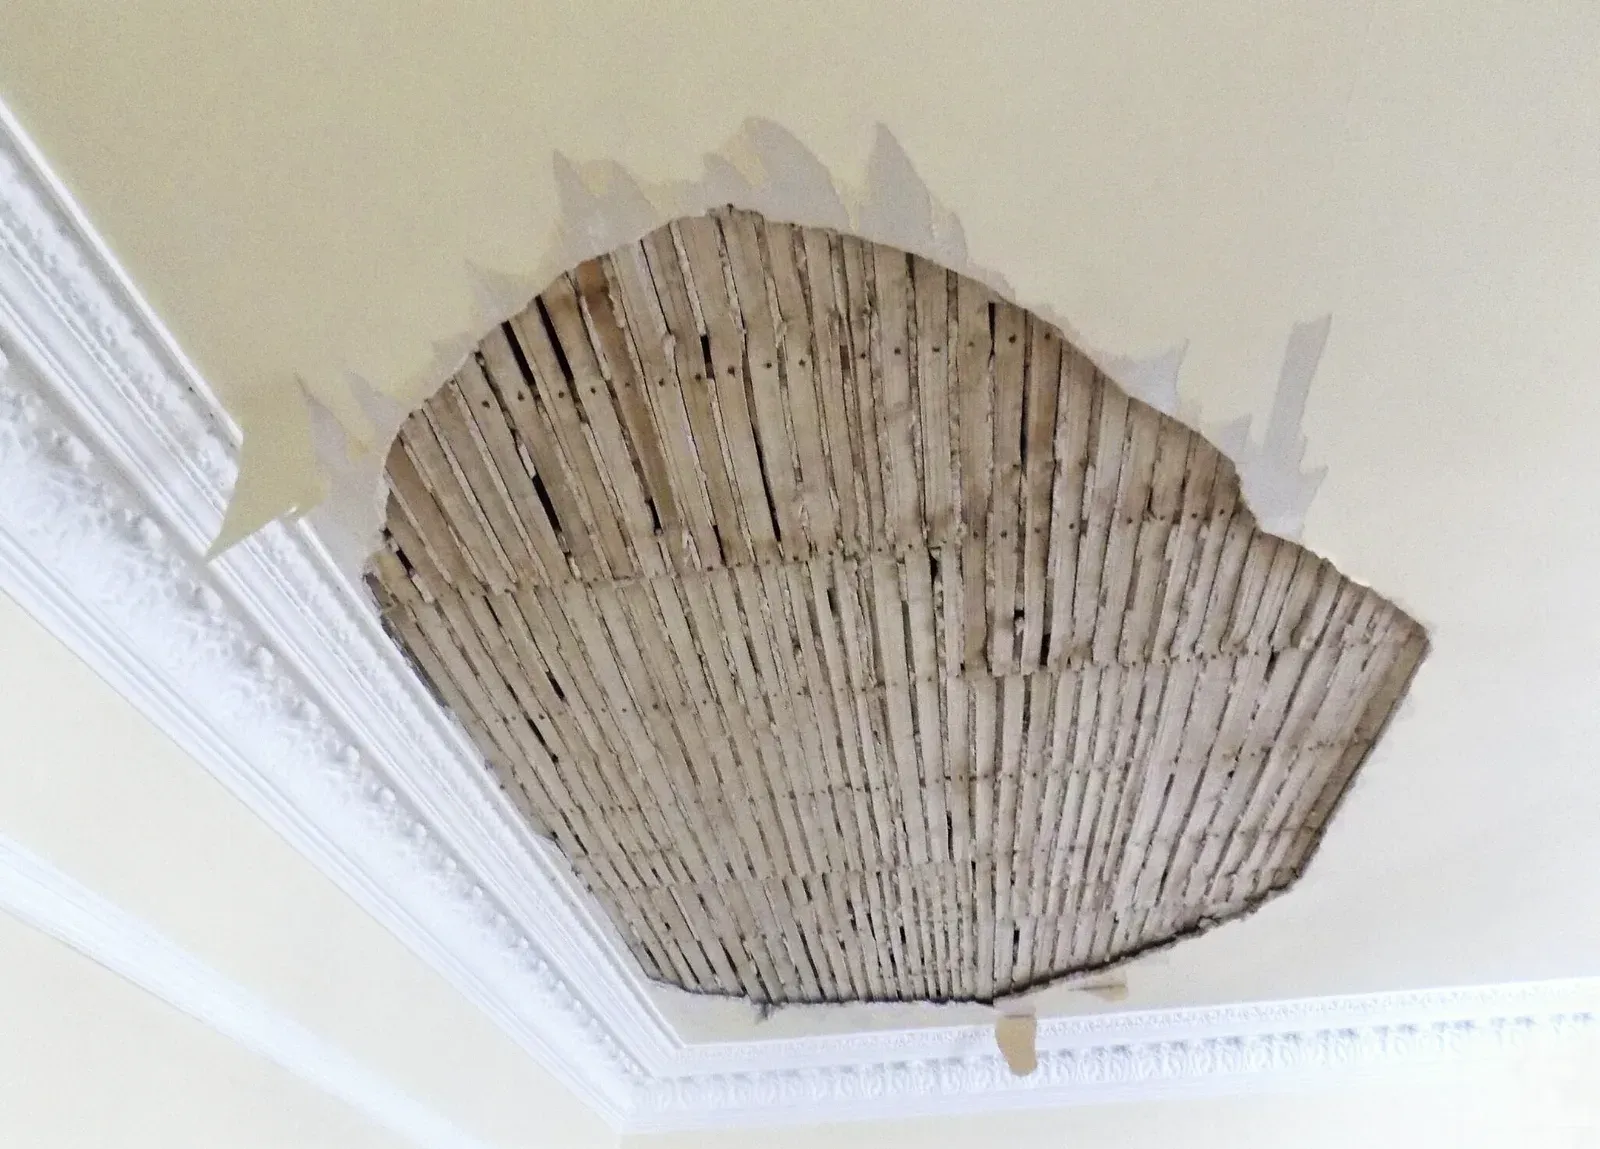
Large section of ceiling plaster fallen away to expose the wood lath, surrounded by ornate period crown molding

Plaster Repair & Plaster-to-Drywall Conversion

A crack that keeps reopening over a doorway, a ceiling covered in a spiderweb of fine lines, or a wall that sounds hollow when you press it usually means one thing in Providence's older housing: the original plaster is losing its grip on the wood lath behind it. Providence Premier Drywall repairs that plaster where it can be saved and converts it to drywall where it can't, deciding wall by wall rather than defaulting to one answer for the whole house.

The approach starts with a press test. Sound plaster that is simply cracked gets refastened with plaster washers, the small discs that pull the plaster back tight against the lath, then filled and skim-coated so the wall stays original. Plaster that has lost its keys across a wide area, or is bulging and dropping chunks, gets removed down to the framing and replaced with new board, sometimes with veneer plaster over blueboard for owners who want the true hardness of the original finish back. Either way the surface is skim-coated to match the hard, flat read of old plaster, because a soft drywall patch stands out badly under the raking light that crosses a wall from a window.

Providence's stock makes this a constant call rather than a rare one. College Hill, the East Side near Brown and RISD, Fox Point, and Elmhurst are dense with pre-1940 lath-and-plaster homes, most of them built before 1978, so the work runs lead-safe under EPA RRP with proper dust containment as a matter of course, not an upsell. Buyers and sellers prepping an old house for the market lean on the same stabilize-or-convert judgment to get walls right before listing photos.

What decides which path a given wall takes, and what that choice does to the budget, is worth walking through before the crew shows up.
Save it or convert it
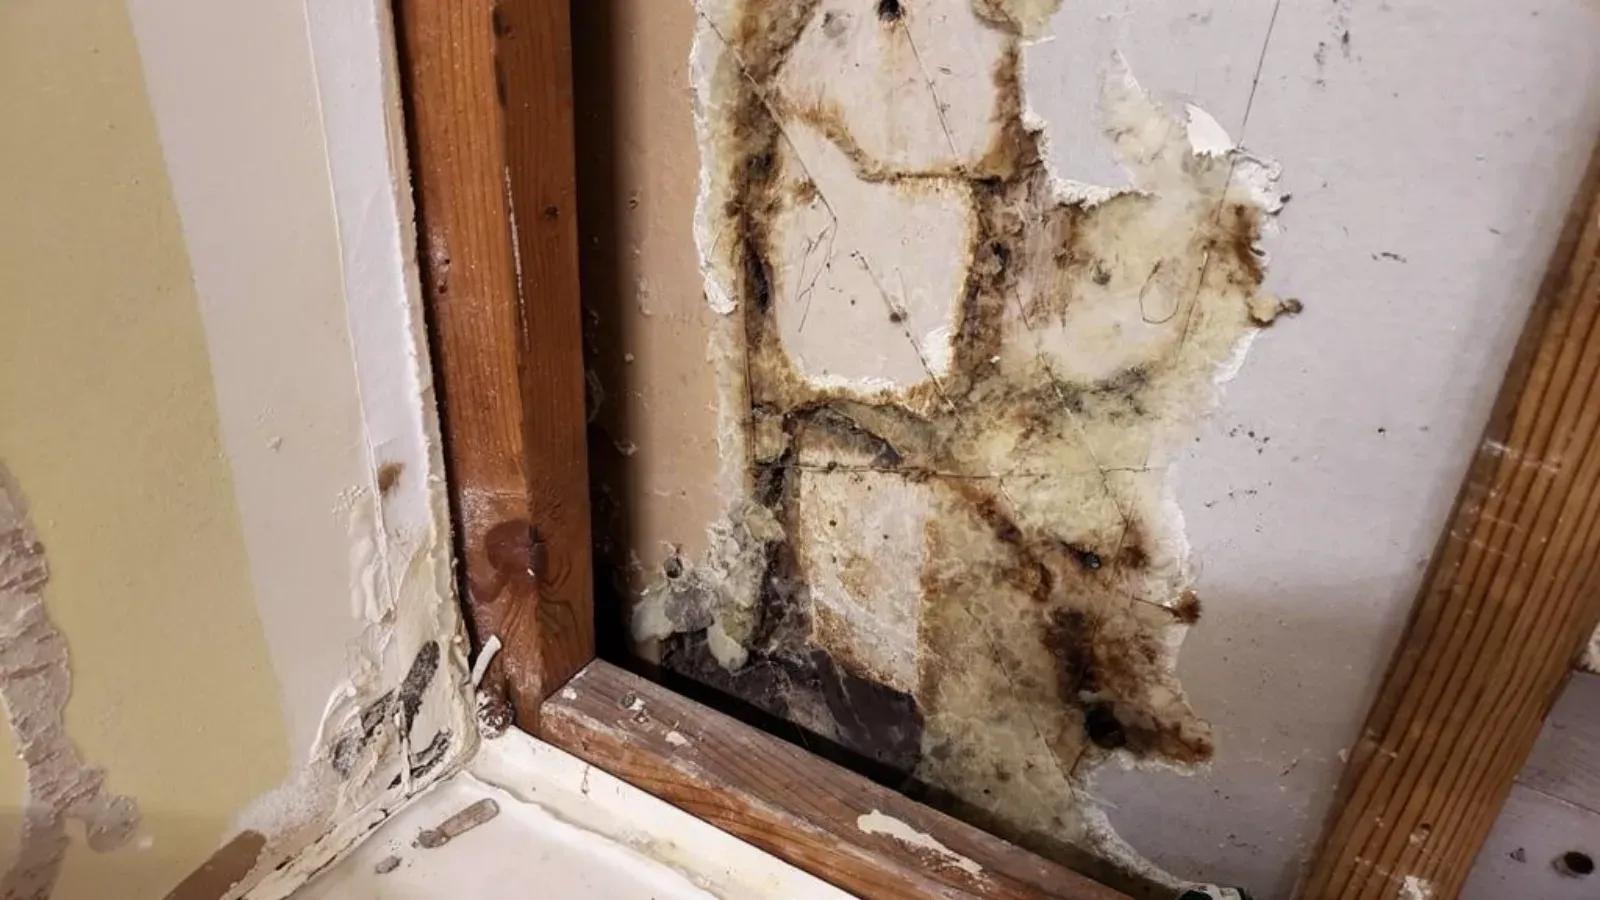
A bathroom wall corner opened beside the tub, mould spread across the exposed board behind

Mold Drywall Replacement

Mold on drywall is not a cleaning problem. Once mold colonizes the paper face and gypsum core, it grows into the material rather than sitting on top of it, so wiping or bleaching the surface only kills what is visible and leaves the roots to return. Providence Premier Drywall's approach starts with a straightforward read of the wall: confirm the moisture source behind the mold has actually been fixed, because rebuilding over an active leak just restarts the cycle. From there, the affected board comes out under dust containment, the cavity and framing get checked and dried, and the wall goes back together with moisture-resistant board suited to the room.

This work is common in Providence for a reason. The city's housing stock is old and dense, Narragansett Bay keeps summer humidity high, and many basements sit below grade under century-old foundations that breathe damp year-round. Triple-deckers and pre-1940 homes in neighborhoods like Central Falls, Pawtucket, and Woonsocket often turn up mold during rental turnover or a basement finish, usually traced back to a slow leak that got painted over rather than repaired. A moisture meter tells the story before any cutting starts, and it also tells us where standard board would just set the problem up to happen again.

Not every mold call is a drywall-only job. Small, localized colonization from a fixed leak is squarely inside our lane, and we handle it start to finish, from removal through a taped, coated, texture-matched finish. Larger or structural infestations need a licensed remediation specialist first; Providence Premier Drywall coordinates with that specialist and rebuilds once the space is cleared. Either way, the goal is a wall that is not just clean-looking but actually resistant to the moisture that caused the problem in the first place.

See the mold rebuild process
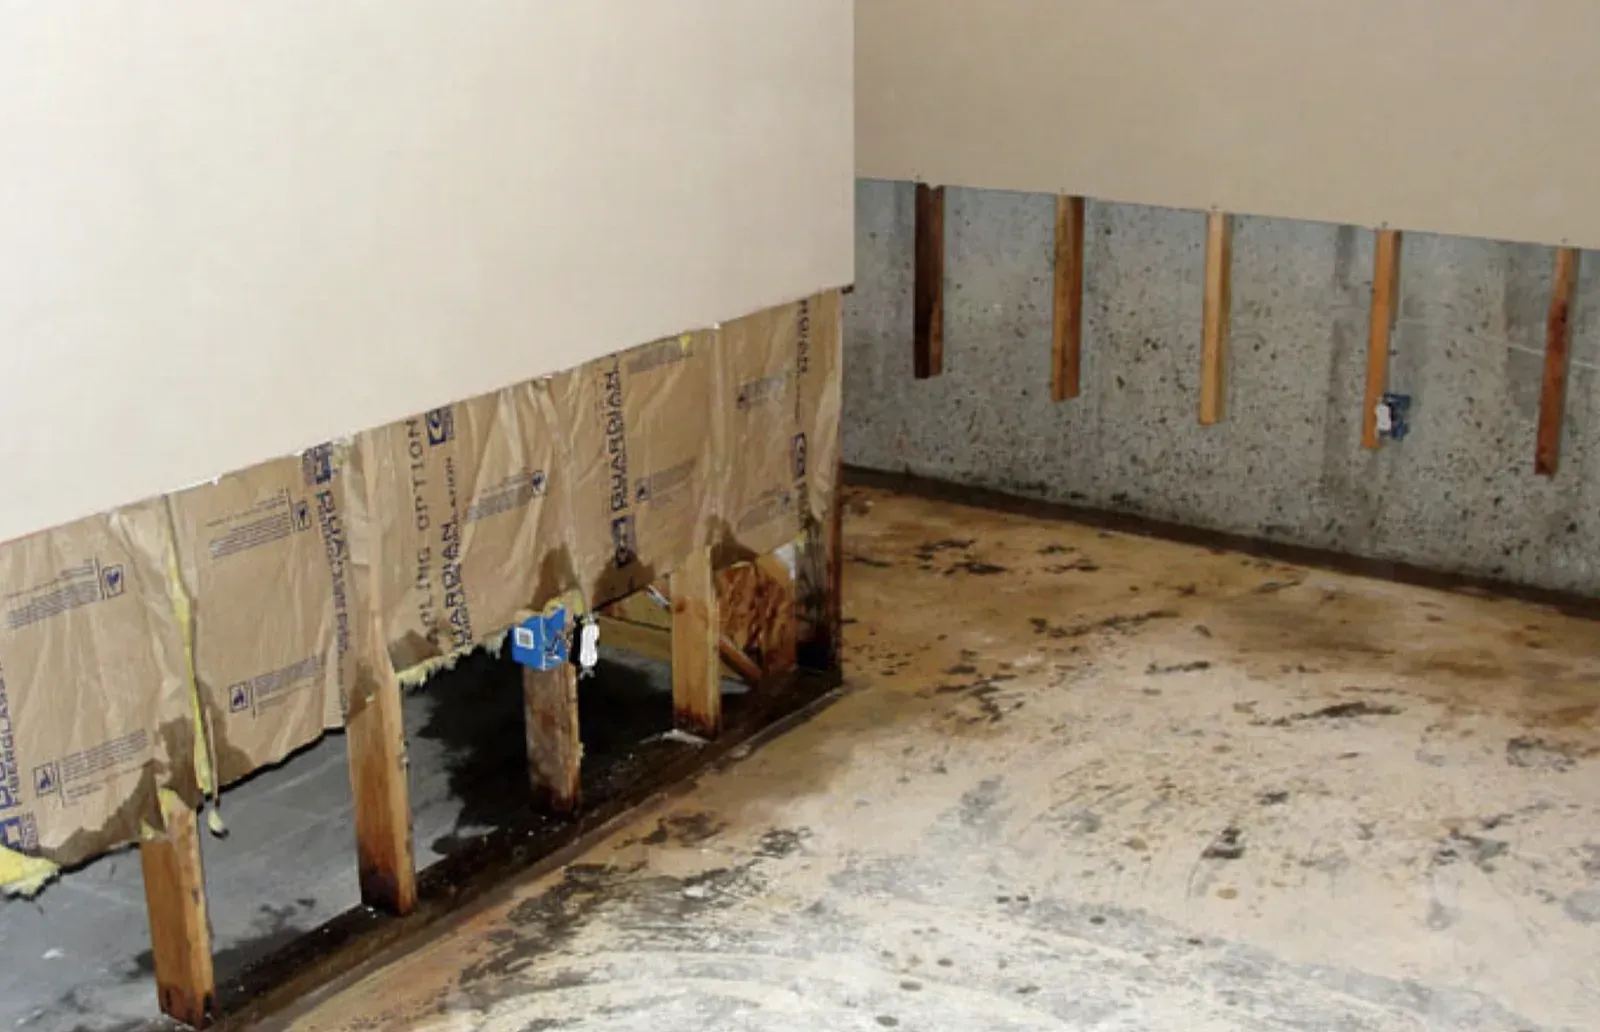
Flood-cut drywall removed to the studs along a water-damaged lower wall, mold on the exposed foundation and a stained concrete floor

Water Damage Drywall Repair

A brown ring on the ceiling, a soft spot underfoot from the room above, or a wall that bubbles near the baseboard after a leak usually means water sat in the drywall assembly longer than the stain lets on. Providence Premier Drywall repairs ceilings and walls damaged by burst pipes, overflowing fixtures, ice dams, and upstairs leaks: finding where the water came from, checking how far it traveled through the board and framing, and removing only what tests wet rather than everything that looks stained.

The diagnosis runs on a moisture meter, not the eye. Gypsum wrapped in paper loses its strength once the paper face pulls water, and that failure line, not the visible discoloration, sets where the cut goes. Where the cavity has dried and the framing checks out, we hang new board, often moisture-resistant board like USG Mold Tough or Gold Bond XP where the spot is a repeat risk, tape and coat to a Level 4 or 5 finish, seal any residual mark with a stain-blocking primer, and match the texture so the repair does not read under raking light.

Providence's older housing stock sees this constantly. Century-old plumbing in triple-deckers and pre-1940 homes across the West End, Elmwood, and the East Side gives out at fittings and supply lines, Narragansett Bay humidity keeps everything slow to dry, and New England freeze-thaw winters push ice dams under the eaves. In a three-family, a leak on the second floor often shows up as a ceiling stain a floor below, so tracing the actual source matters before any drywall comes down.

Because wet gypsum can grow mold in the cavity within about 48 hours, every water job includes checking the back of the removed board and the framing for it, and documenting the damage when a homeowner is working with an insurance adjuster on a claim.

See the full repair process
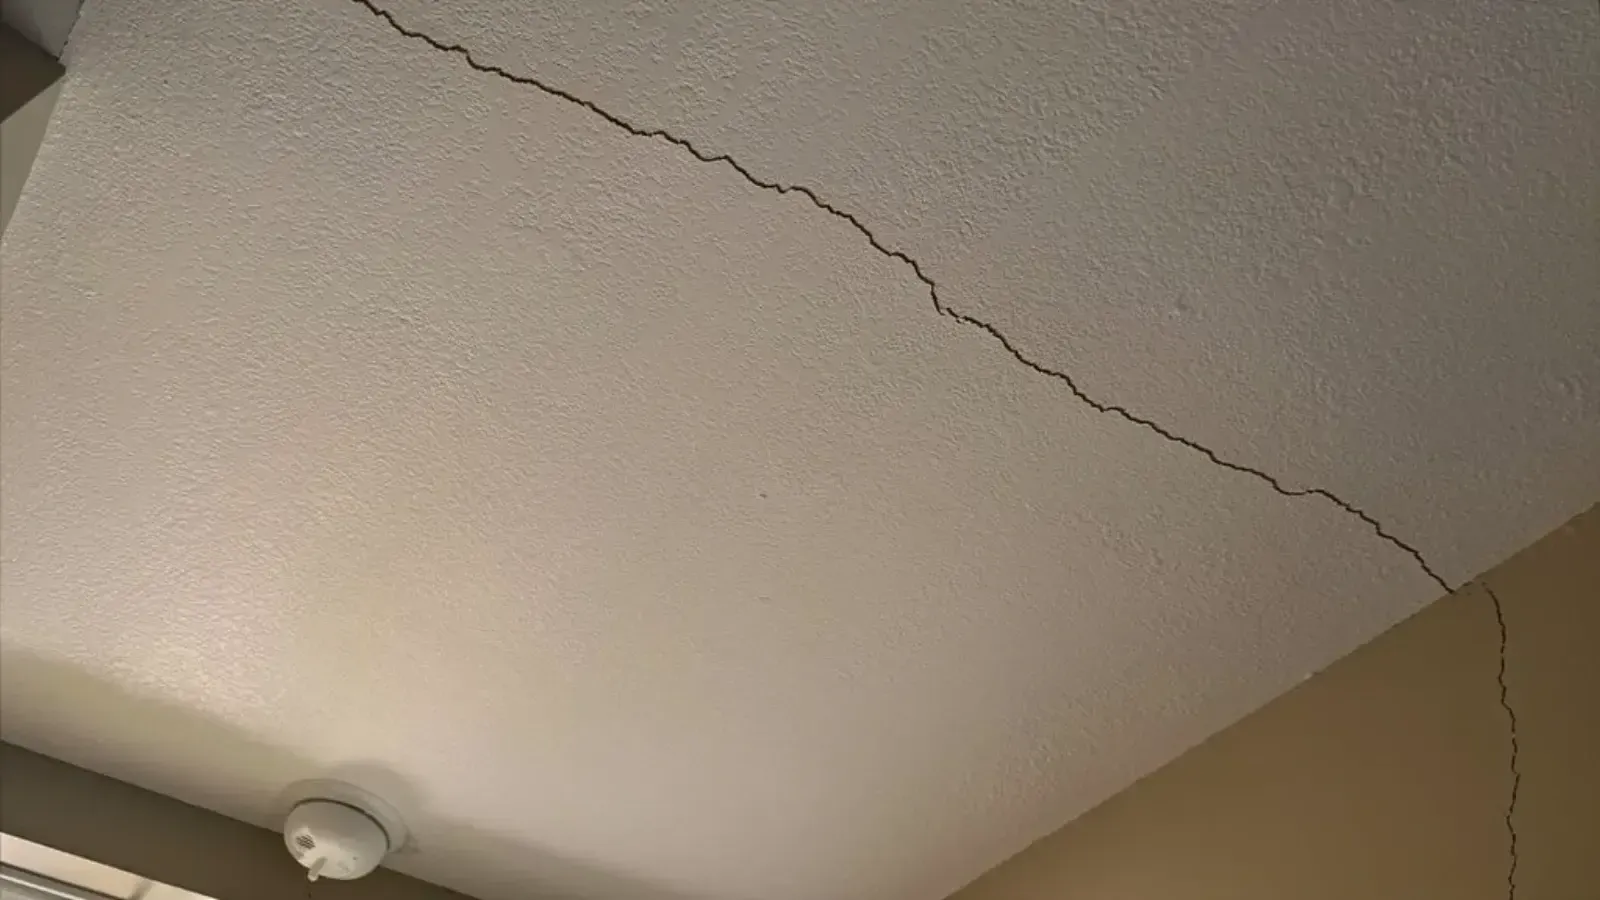
A long crack running diagonally across a lightly textured painted ceiling toward the corner where the ceiling meets the wall, with a round white smoke detector mounted nearby

Ceiling Repair

A hairline crack running along the ceiling perimeter, a ceiling that feels a little soft or springy underfoot from above, or a plaster ceiling shedding fine white dust usually has nothing to do with water. Providence Premier Drywall diagnoses why a ceiling is cracking, sagging, or shedding when no leak is involved, then fixes the actual cause, a failing plaster key, a loose fastener, or seasonal seam movement, rather than just filling the crack and hoping it holds.

The diagnosis starts with ruling out moisture, then probing plaster for soft or hollow spots and checking the fastener pattern on a drywall ceiling. A crack that runs parallel to a wall below it often points to seam movement or truss uplift at that wall; a soft, springy area points to plaster keys that have already failed. Getting this right before anything opens is what separates a repair that lasts from one that needs a second visit next winter.

College Hill and the East Side carry a large share of Providence's pre-1940 housing stock, much of it still finished in lime plaster over wood lath, where plaster keys dry out and crumble after eight or nine decades. In the triple-decker belt around Elmhurst, near Providence College, drywall ceilings crack along the same seam every winter as the framing shifts with the season. Once the cause is addressed, we tape and coat to a Level 4 or 5 finish, match the existing texture, and test for asbestos before removing any popcorn texture on an older ceiling.

When the same pattern of cracking shows up on the walls too, not just the ceiling, it's often part of a wider seasonal movement pattern worth addressing together.

See the diagnosis process
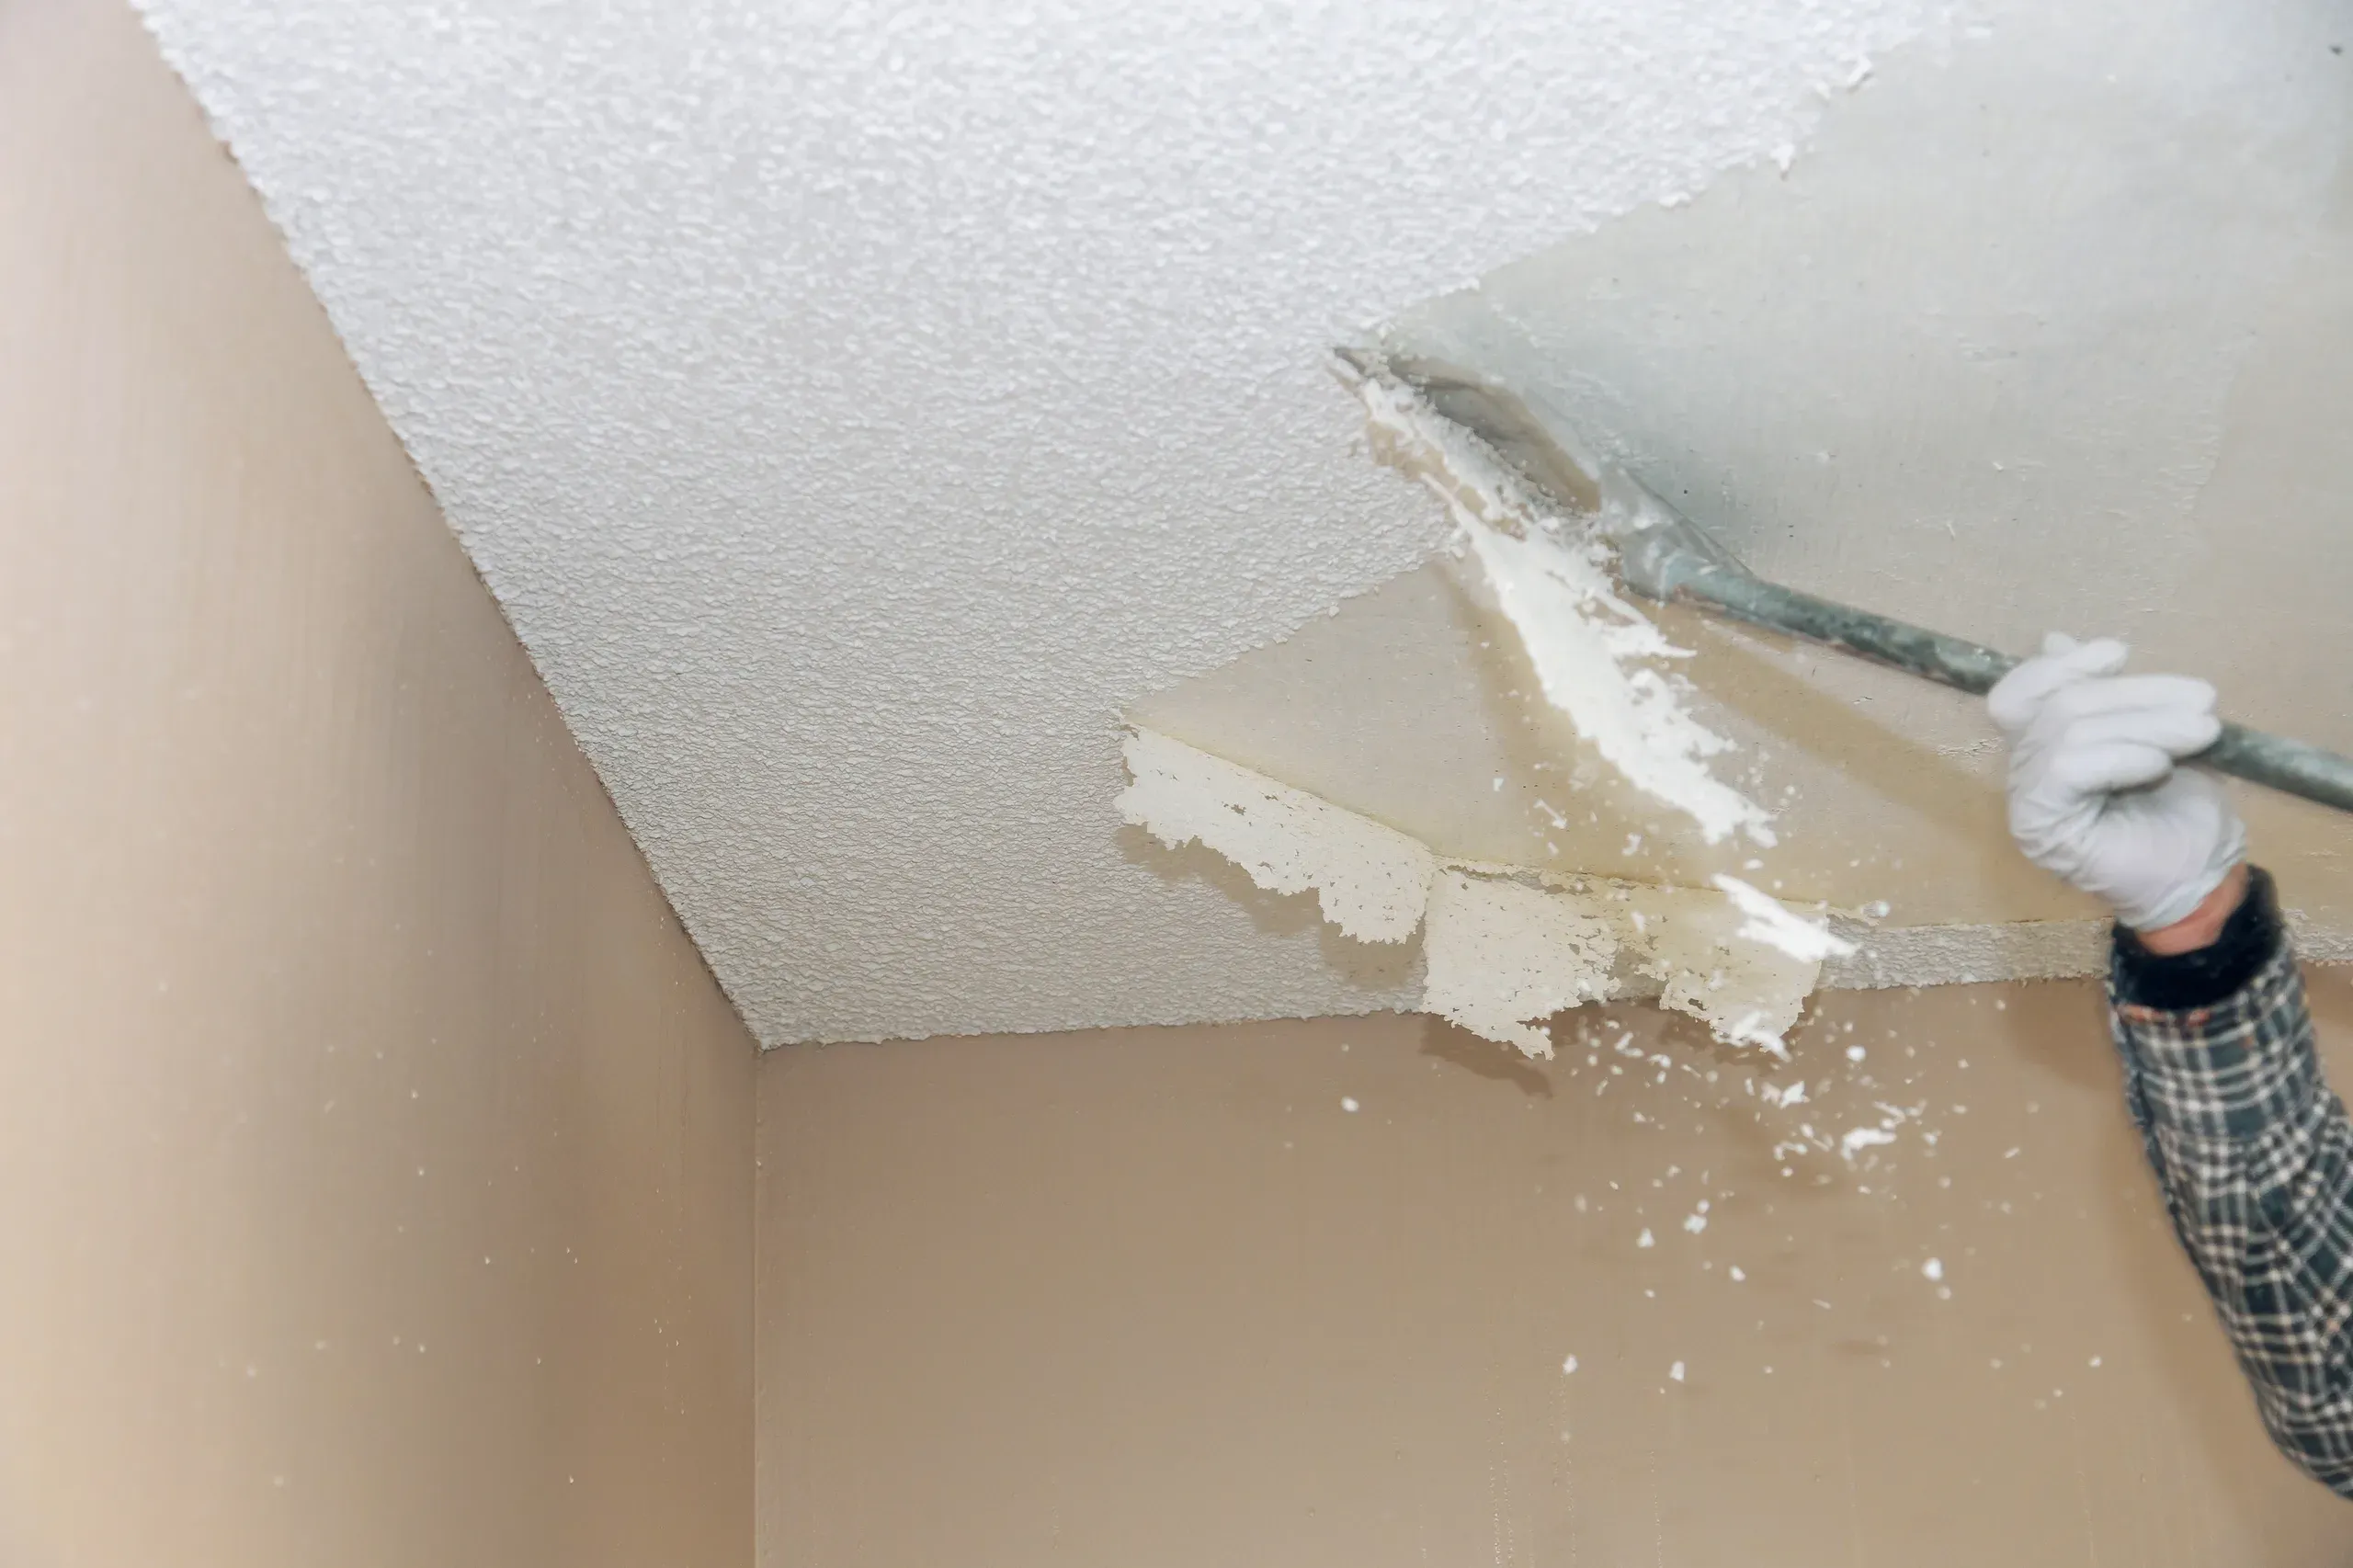
Gloved hand running a long-handled scraper across a popcorn ceiling in a room corner, half the ceiling stripped smooth and flakes of texture falling

Popcorn Ceiling Removal

A bumpy, yellowing ceiling texture that shadows every light fixture, or one that has started to flake and shed onto the floor, is usually the last thing standing between an updated room and a finished one. Providence Premier Drywall removes outdated popcorn and other sprayed acoustic ceiling texture and refinishes the ceiling smooth or to a current texture, whether the trigger is a full room renovation or getting a home ready to list.

The first question is never about the texture, it's about the calendar. Sprayed acoustic texture applied before 1980 may contain asbestos, so we arrange testing before any scraping or sanding starts. A negative result clears the ceiling for a normal wet-scrape; a positive result shifts the approach to a skim coat that encapsulates the material in place, or to licensed abatement first. Once a ceiling is cleared to work on, we check the substrate underneath, since Providence's postwar ranches and capes through Elmhurst and Smith Hill, along with older two- and three-family homes, can hide anything from sound drywall to tired plaster under that texture.

After the texture is gone, we patch cracks and old water stains, seal residual marks with a stain-blocking primer, and tape and coat to a Level 4 or Level 5 finish depending on the light the ceiling sits under. Most homeowners choose flat and smooth; some choose a lighter, more current texture instead. Either way the finish is matched to the rest of the room.

See the full removal process
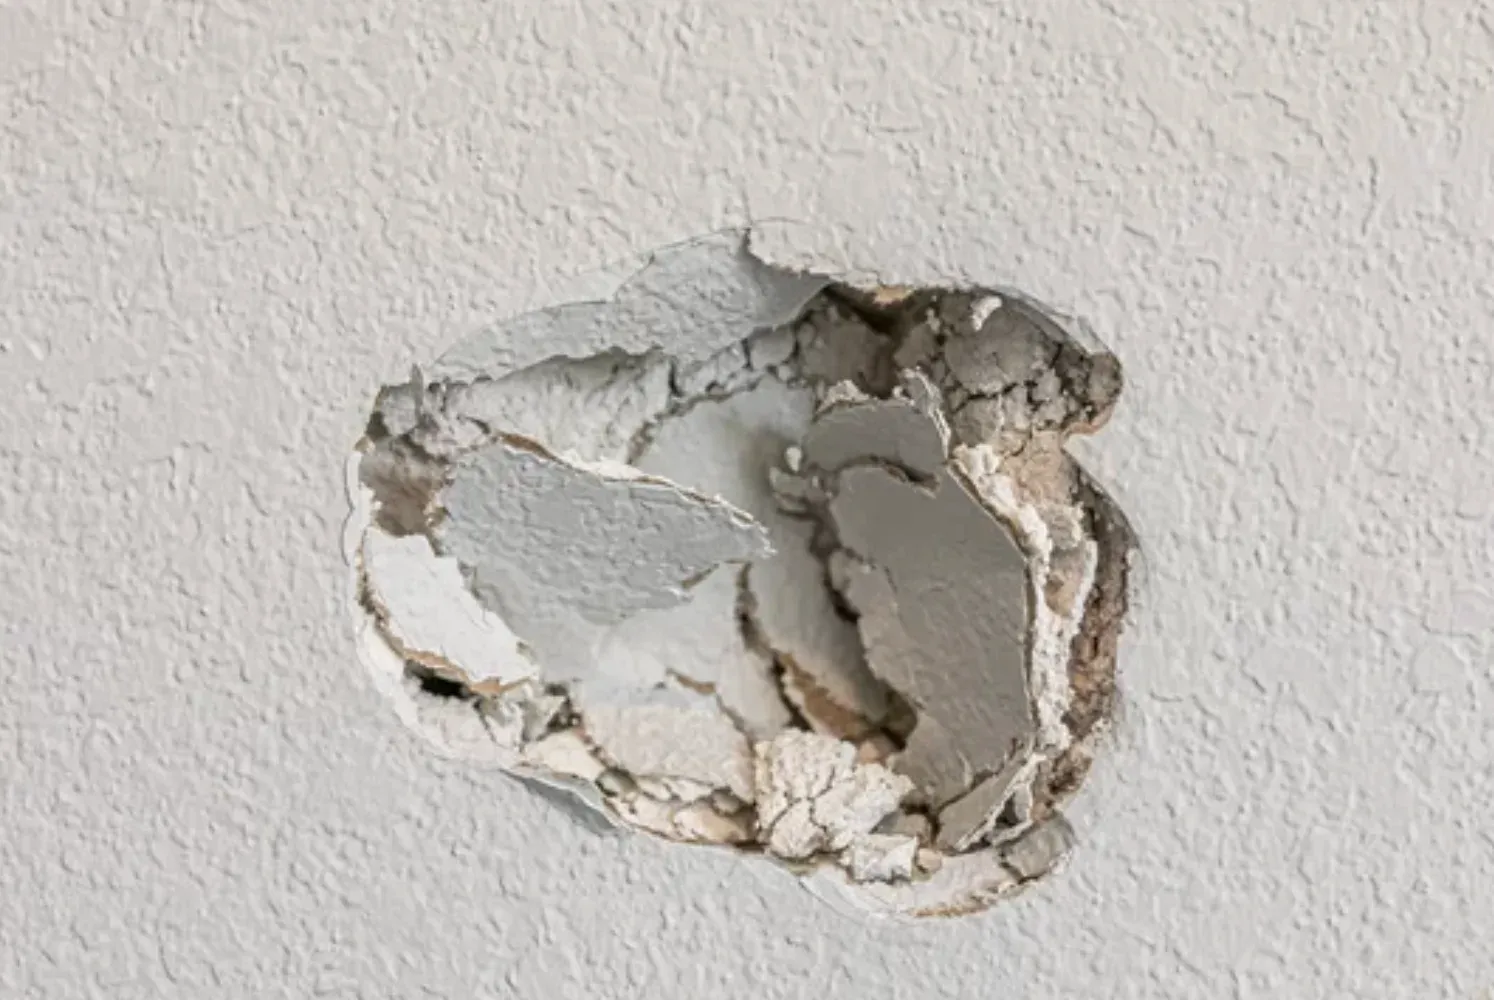
Hole punched in an interior drywall wall, awaiting patch and repair

Drywall Repair & Patching

A doorknob-sized hole in a bedroom wall, a cluster of nail pops cracking the paint along a hallway, or a few small holes left by a picture hook or a TV mount are rarely emergencies, they're usually tied to a deadline. Providence Premier Drywall patches holes, dings, popped fasteners, and damaged corners quickly and cleanly: cutting back or filling the damaged spot, taping and coating it, and blending the texture so the repair disappears once it's painted.

Most jobs are fast, in-and-out work. We cut back any damaged edges and set a backer behind larger holes so the patch has something solid to hold to, then tape and coat in thin layers, feathering the edges so the patch blends into the surrounding wall rather than sitting as a flat spot on a textured surface.

The city's dense triple-decker belt across the West End, Elmwood, and Olneyville turns over tenants constantly, and every turnover leaves the same short list: a few holes, some popped fasteners, a dinged corner or two. For a small landlord running several units, we scope multi-unit patch work like a punch list, counting the spots, matching texture across units if it varies, and moving through efficiently so a building doesn't sit half turned-over waiting on drywall.

A single popped fastener or a small crack next to a patched hole is normal wear. But if the same spot keeps reopening after being patched, that usually points to movement in the framing behind it, worth a closer look rather than another round of the same patch.

See the patch process
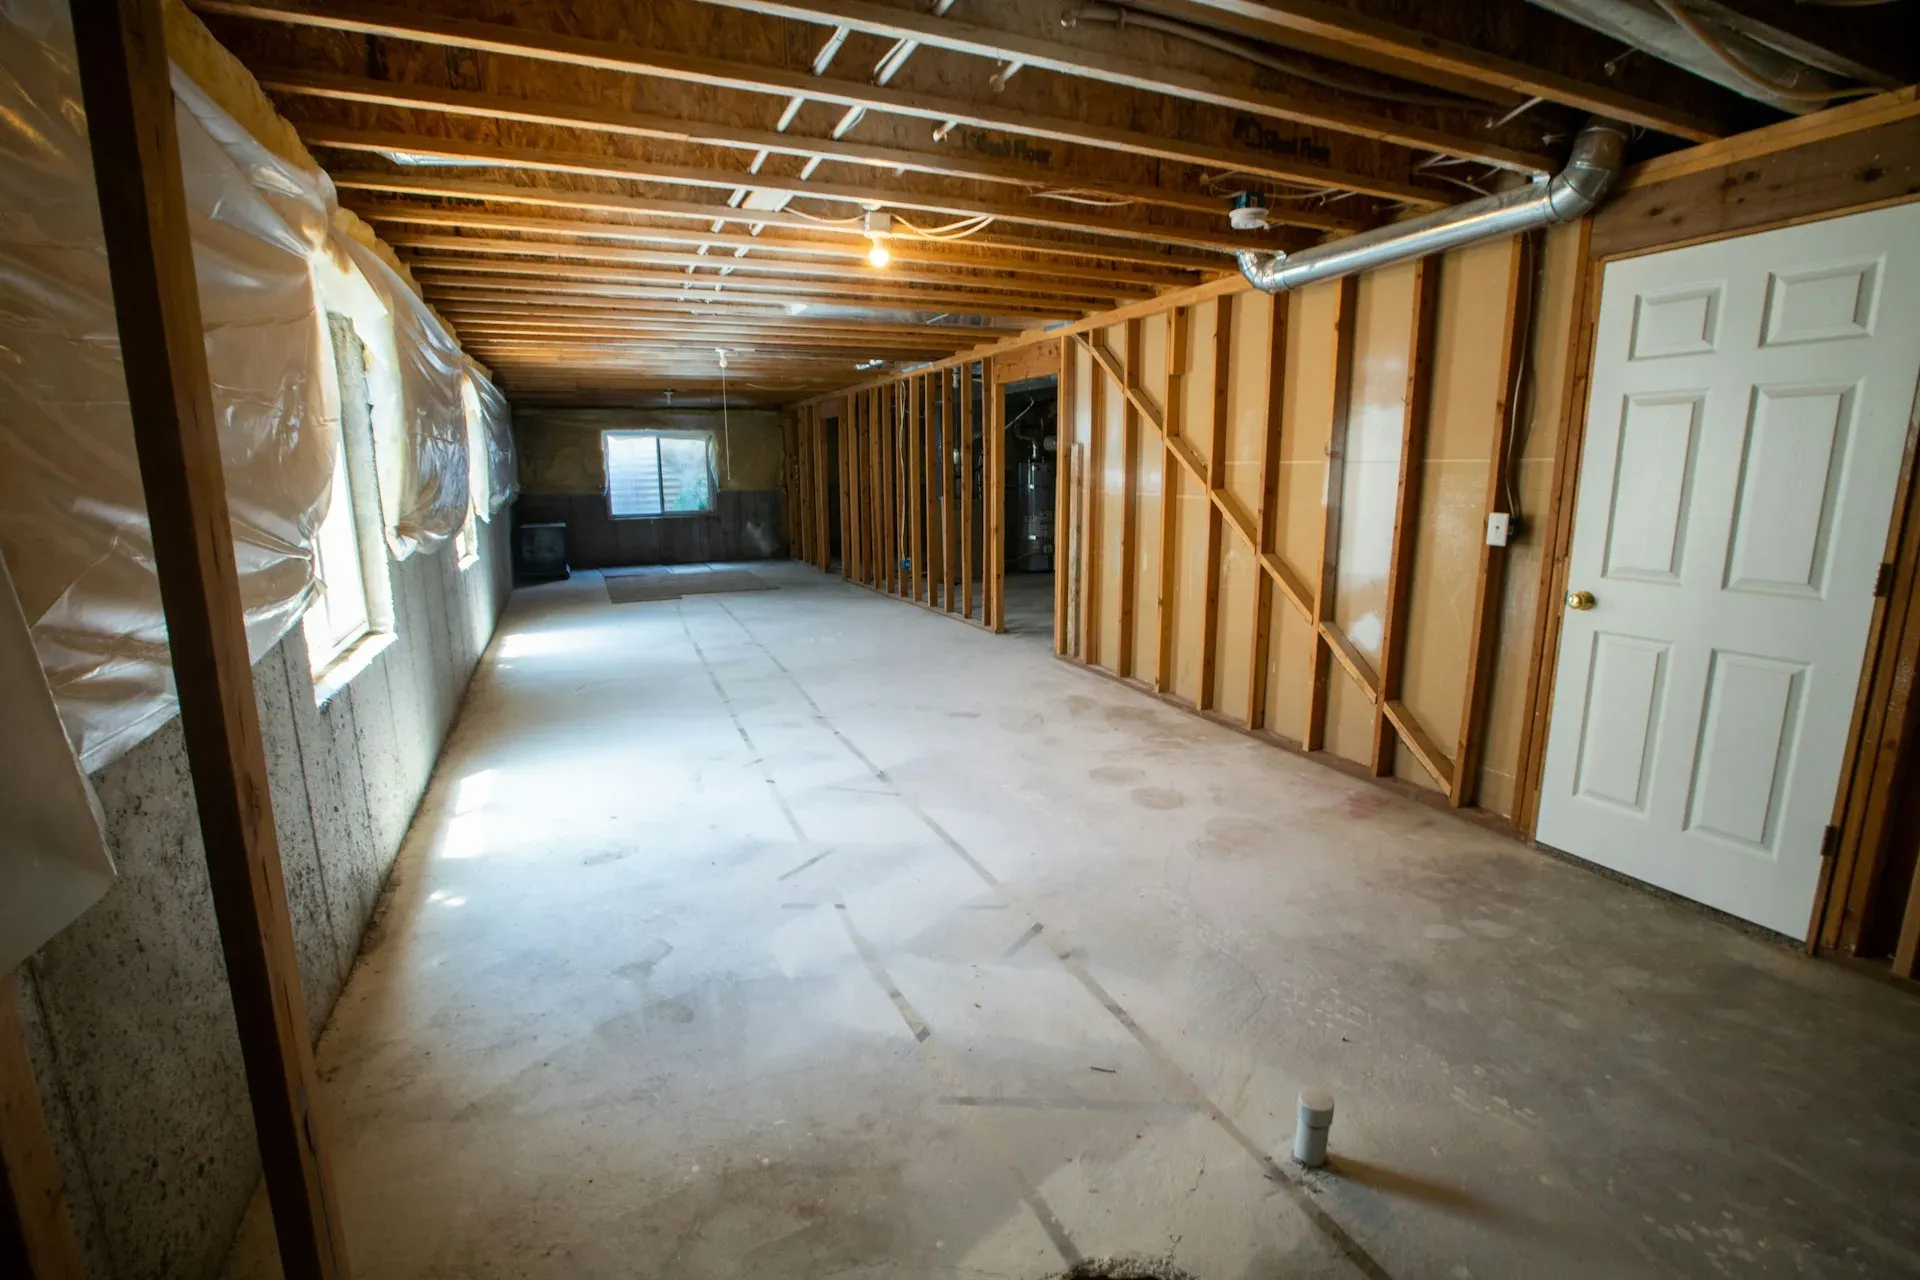
Open, unfinished basement framed and ready for drywall

Basement Drywall Finishing

A basement wall behaves nothing like a wall on the floors above it, and treating it the same way is the most common reason a basement finish fails within a few years. Providence Premier Drywall frames and finishes basement walls and ceilings built for below-grade conditions, starting every job with a moisture-meter assessment of the foundation rather than assuming the space is dry because it looks dry on the day of the estimate. That reading determines almost everything downstream: whether furring strips against the foundation are enough or the space needs full stud-framed walls with a real air gap, and whether standard board will hold up or the job needs moisture-resistant board from the start.

The detail that separates a basement finish that lasts from one that does not is the gap behind the wall. Board attached directly to a foundation with no airflow behind it traps whatever moisture the concrete releases, with nowhere for it to go but into the drywall. We fur or frame walls off the foundation with a deliberate air gap, and where the foundation runs consistently damp, that framing gets paired with moisture-resistant board such as USG Mold Tough, which resists the soft, musty deterioration plain paper-faced board suffers below grade.

What a basement becomes changes the requirements. A media room or home office has no special code trigger beyond sound construction and proper moisture handling, but a bedroom needs a legal egress window or door under Rhode Island's building code, and that has to be addressed before drywall goes up, not discovered afterward. Homeowners near Wayland Square, the East Side, and Mount Pleasant get walked through that distinction early, since retrofitting egress after a basement is finished costs far more than planning for it up front.

A large share of the calls on this service are second attempts, a basement finished years ago directly against the foundation, now soft, stained, or musty at the baseline. We assess what is salvageable and rebuild with furring, the right board, and attention to how the space actually behaves through a full Rhode Island year.

See the full basement process
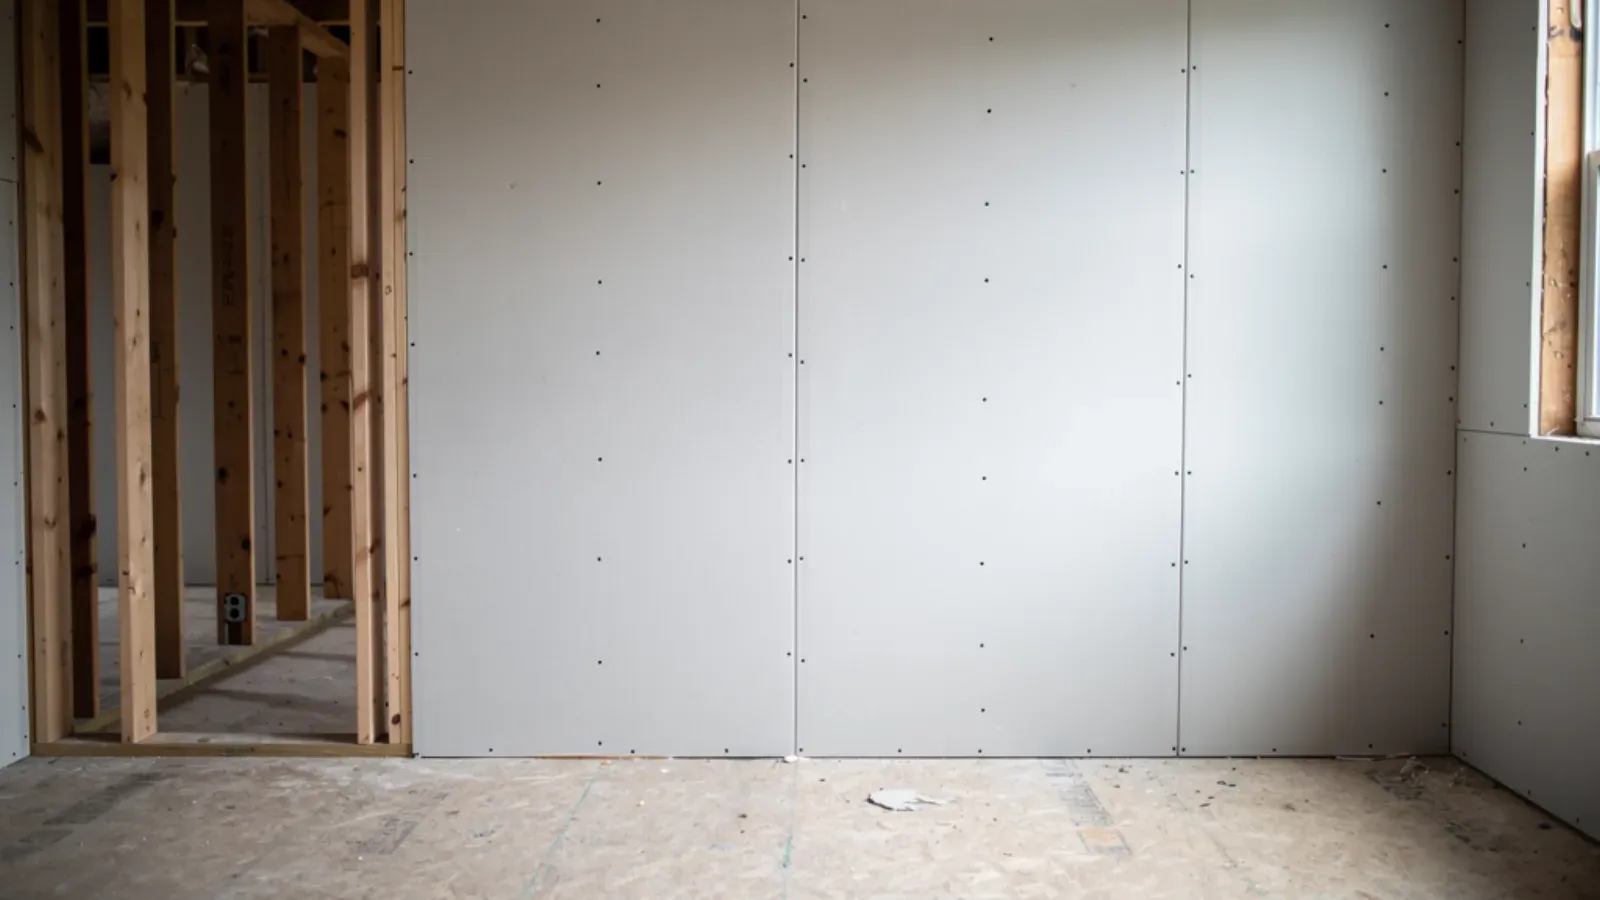
Bare gypsum drywall panels screwed onto wood wall studs in a room under construction, one stud bay still open

Drywall Installation & Hanging

Open studs after a framing inspection are a countdown, not just an empty room: every week board stays unhung is a week paint, trim, and flooring cannot start behind it. Providence Premier Drywall hangs new drywall board on framed walls and ceilings, from a single room addition or attic conversion to a full floor of new construction, measuring and cutting board to the actual framing rather than the plan sheet, since studs shift during rough-in and board cut to the drawing leaves gaps at every seam.

The work runs on two standards depending on what is behind the wall. Most house additions and attic build-outs are wood-stud framing, straightforward hang-and-finish work fastened to ASTM C840 spacing and staggered so no seam lines up straight across a corner. Mill conversions and downtown office buildouts run metal stud instead, framed to ASTM C1396 and GA-216, often with demising or shaft walls that need a specific fire-rated assembly rather than a standard partition. Either way, the board gets taped, finished, sanded, and primed to a Level 4 paint-ready surface as the default, with a conversation about going higher on any wall that will catch strong raking light.

Providence's building mix keeps both sides of the business busy: wood-stud additions from Elmhurst to the West Side, and metal-stud conversions where developers are turning old textile floors in Olneyville and the Valley into residential or live-work units. A GC's biggest complaint about drywall subs is falling behind the framing schedule, so board type and finish level get confirmed before the crew shows up, which is what keeps a hang on the GC's timeline instead of stalling everything behind it.

The crew that hangs the board also carries it through taping and finishing, so there is one point of responsibility for the whole wall rather than a handoff between a hanging sub and a separate finisher, and the wall handed back is ready for paint, not a surface someone else still has to fix.

See the full installation process
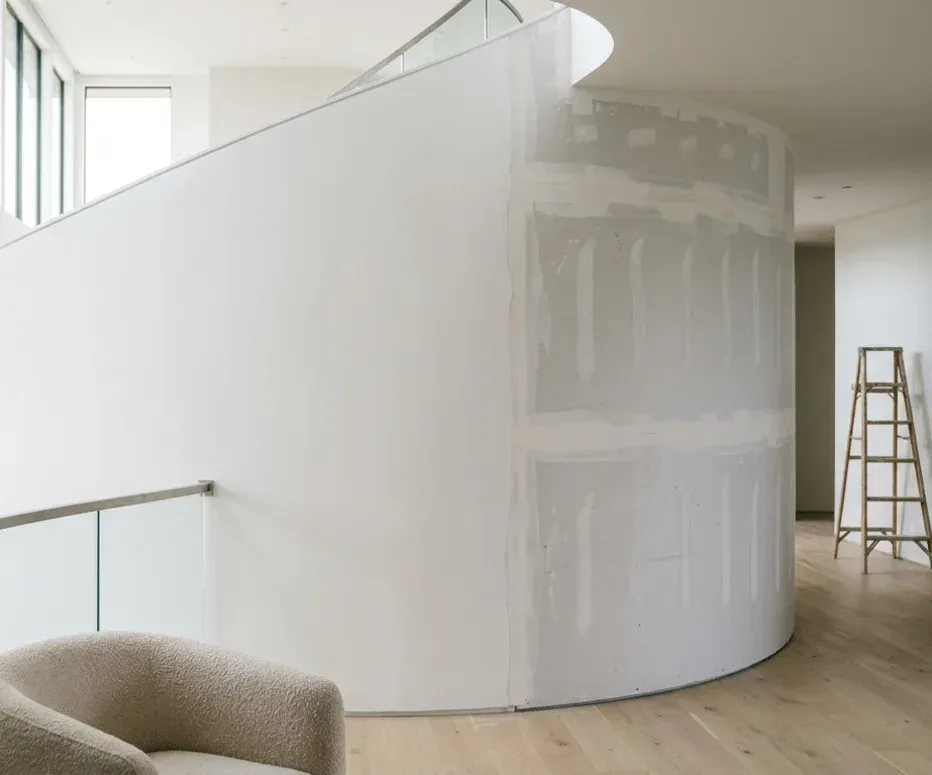
Curved interior wall being skim-coated to a Level 5 finish — one side smooth white, the other showing taped drywall joints — with a wooden ladder and a glass-railed walkway

Skim Coat & Level 5 Finish

Walls covered in years of small patches, nail holes, and texture inconsistencies look fine under ordinary light and then show every seam and dimple the moment a window or a modern light fixture rakes across them. Providence Premier Drywall resurfaces rough, heavily patched, or inconsistent walls and ceilings to a true skim coat, and where the room's lighting or paint sheen calls for it, a full GA-214 Level 5 finish: a thin layer of joint compound applied over the entire surface rather than just the seams and fasteners.

A standard Level 4 wall, taped seams and fastener heads coated smooth, looks fine under flat paint and soft light. Put that same wall under a wide window, a skylight, can lighting, or a satin or gloss paint, and every seam and sanding mark becomes visible. Level 5 adds a final skim across the whole surface specifically to eliminate that texture difference, which is why designers and architects on the East Side and around Wayland Square specify it for high-gloss paint, feature lighting, and College Hill and Barrington renovations replacing decades of patched, crazed plaster.

Rather than demolish sound old plaster, we bond and skim over it, filling and leveling the accumulated history of small repairs under one continuous coat. A true skim coat has to cure between passes, and on a Level 5 job we add a final full-surface skim and sand it under raking light before calling a wall finished, so it stays smooth under whatever light the room actually has, not just the light it was checked under.

See the Level 5 process
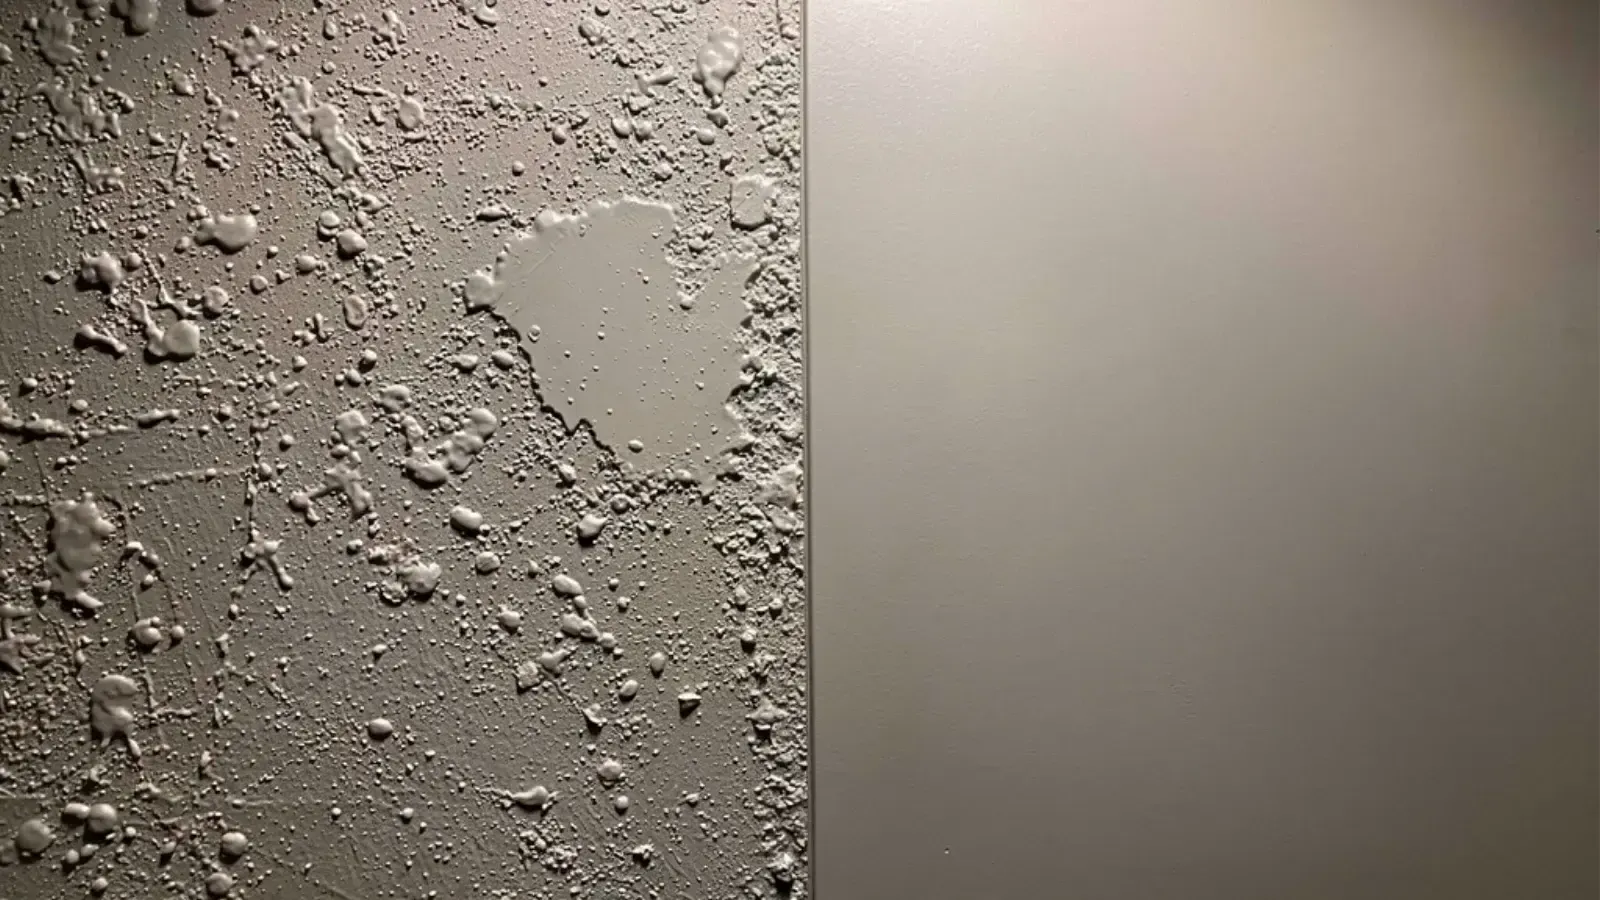
A smooth painted wall meeting a knockdown texture along a vertical line in raking light

Drywall Texture Matching

A patch that is structurally fine but visibly flatter or smoother than the texture around it shows up as a dull rectangle the moment paint hits it, whether the repair came from Providence Premier Drywall or another trade that left bare compound behind. Providence Premier Drywall matches new patch work to existing knockdown, orange-peel, or stomp/skip-trowel texture so the repair disappears into the surrounding wall or ceiling, whether the trigger is a recent patch that reads as an obvious flat spot or a rental unit being prepped for new tenants.

This is not about removing texture, it's about reproducing it: the same stipple size, the same pattern spacing, and the same sheen, tested first on a scrap board or a hidden section of the same wall before the visible patch is ever touched. Spray pattern, compound consistency, and even the room's humidity that day all affect how a texture lays down, so if the test comes back too fine, too coarse, or spaced wrong, we adjust and test again rather than committing straight to the real repair.

A large share of this work comes from landlords and property managers across the West End and Elmwood turning over rental units between tenants, small patches from a removed fixture or a plumber's repair that all need to disappear before a unit is shown. The last step on every job is feathering the new texture's edge into the surrounding surface rather than stopping it at a hard line, which is what makes a patch genuinely vanish instead of just looking close.

See the matching process
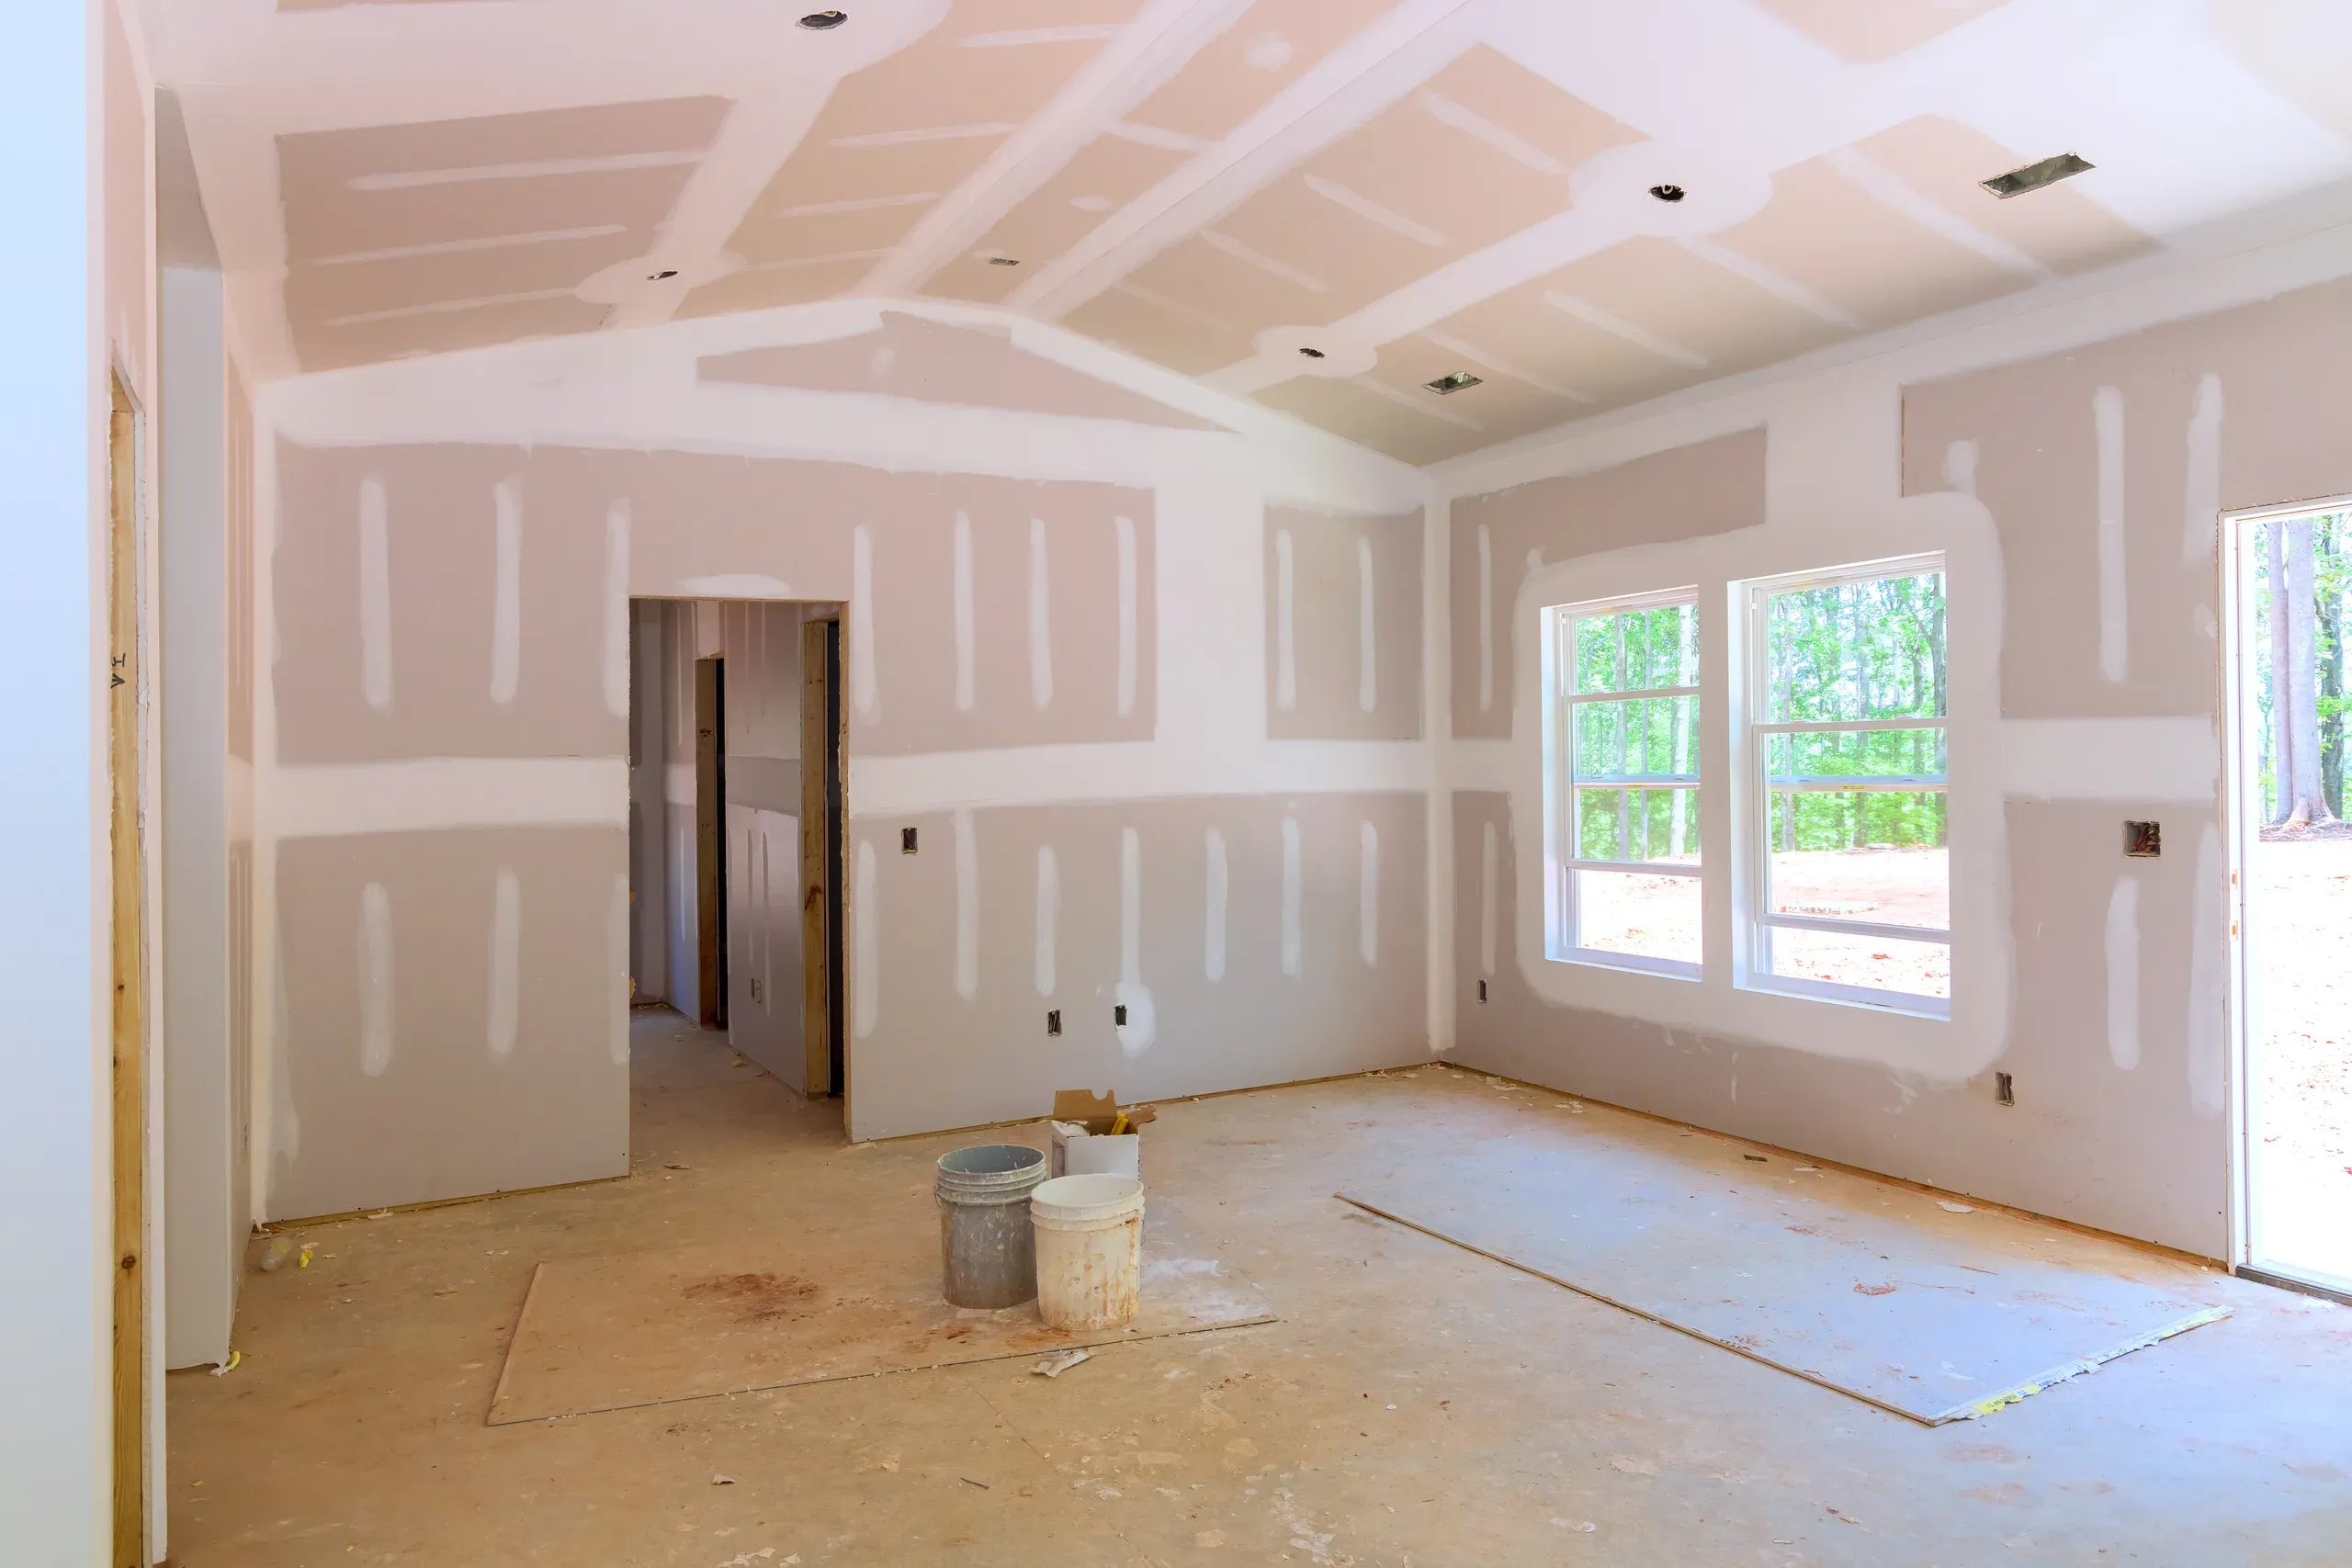
Newly hung drywall room with every seam taped and coated in white joint compound and each fastener spotted, ceiling and walls unsanded, two compound buckets on the bare subfloor

Drywall Taping & Finishing

Board on the wall is not a finished room, and the gap between the two is entirely in the taping and finishing. Providence Premier Drywall works this stage on its own, walking in after a framer, a GC's hanging crew, or a homeowner's weekend project has left board up but unfinished. The first thing checked is not the mud, it is the hang underneath: screw spacing, gaps between sheets, and whether fastener heads are seated properly, because a rushed hang with uneven gaps forces more compound and more coats to hide.

Every seam gets taped, embedded in joint compound, and built up in successive coats that widen and feather each pass so the seam disappears into the surrounding wall instead of leaving a visible ridge. Corner bead gets the same attention on outside corners, since a poorly finished corner is one of the fastest ways a wall reads as amateur work even when the flat seams look fine. Most rooms finish to Level 4, smooth under ordinary lighting and ready for flat or eggshell paint; walls lit head-on by a large window or raking sconce light get flagged individually rather than upselling a higher finish across a job that does not need it.

Landlords and property managers turning over triple-decker units in Federal Hill, the West End, and Elmwood rarely need a full hang. The board from the last renovation or the last tenant's repair is usually still up, and what breaks down between tenants is the finish: patched holes that were never properly taped, or a paint job going over unfinished seams. Treating finishing as its own trade, not a leftover task after hanging, is what keeps a turnover schedule on track.

Sanded, primed, and checked under a raking light before the job is called done, the wall a painter picks up should need nothing more than color.

See the full finishing process
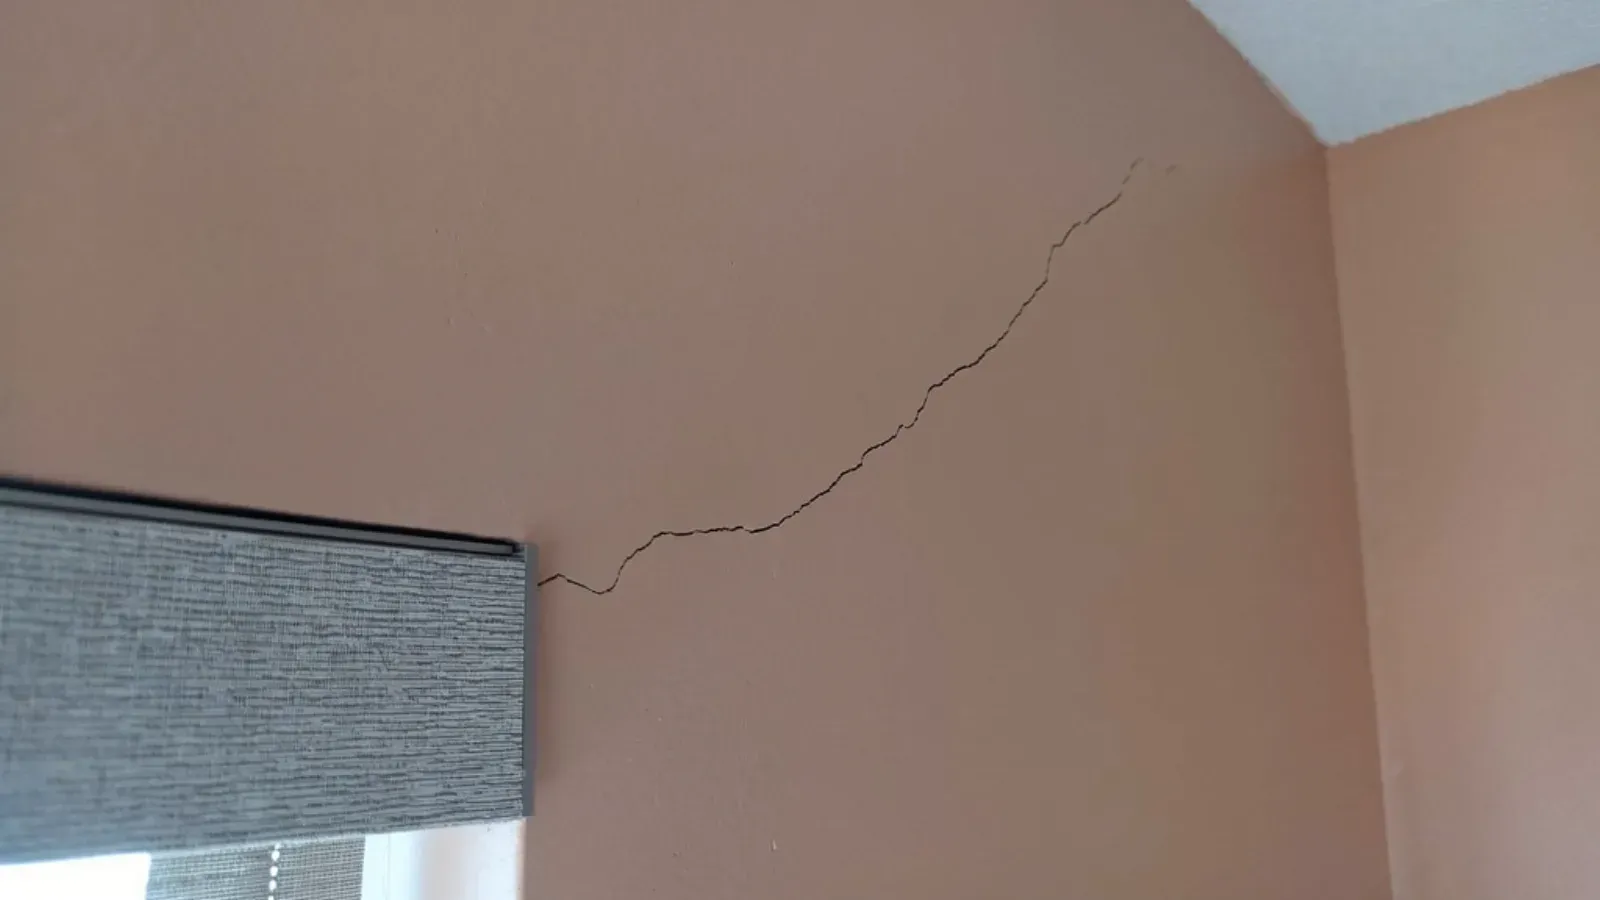
A hairline stress crack running diagonally across a painted interior wall from the head of a window casing up toward the wall-and-ceiling corner

Drywall Crack Repair

The same crack over a doorway that returns every year no matter how many times it's been spackled, a diagonal crack from a corner, or cracking right where a metal corner bead meets the wall usually means something behind the wall keeps moving. Providence Premier Drywall diagnoses why a crack keeps coming back before repairing it: finding whether the movement is coming from a header, a stud line, seasonal shift, or a failed corner bead, and choosing the right reinforcement for that cause instead of filling the visible line and hoping it holds.

We trace the crack's path, check the framing and corner bead condition behind it, and choose mesh tape for flexibility, paper tape for a clean flat line, or a new corner bead where the metal itself is damaged. The reinforcement that stops a header crack isn't the same one that stops a corner bead from splitting again.

Fox Point and Federal Hill sit on some of the city's oldest building stock, much of it on foundations that shift slightly with the freeze-thaw cycle every New England winter, opening the same crack in January that seems to close a little by summer. In the triple-decker belt, framing settles and dries under normal use, and cracks tend to follow stud lines or run diagonally from door and window corners. Neither pattern usually means something is wrong with the house; it means the repair has to be built to handle ongoing movement.

When a room has other small dings or holes worth handling in the same visit, we're glad to scope those alongside the crack repair rather than schedule a second trip.

See the diagnosis process
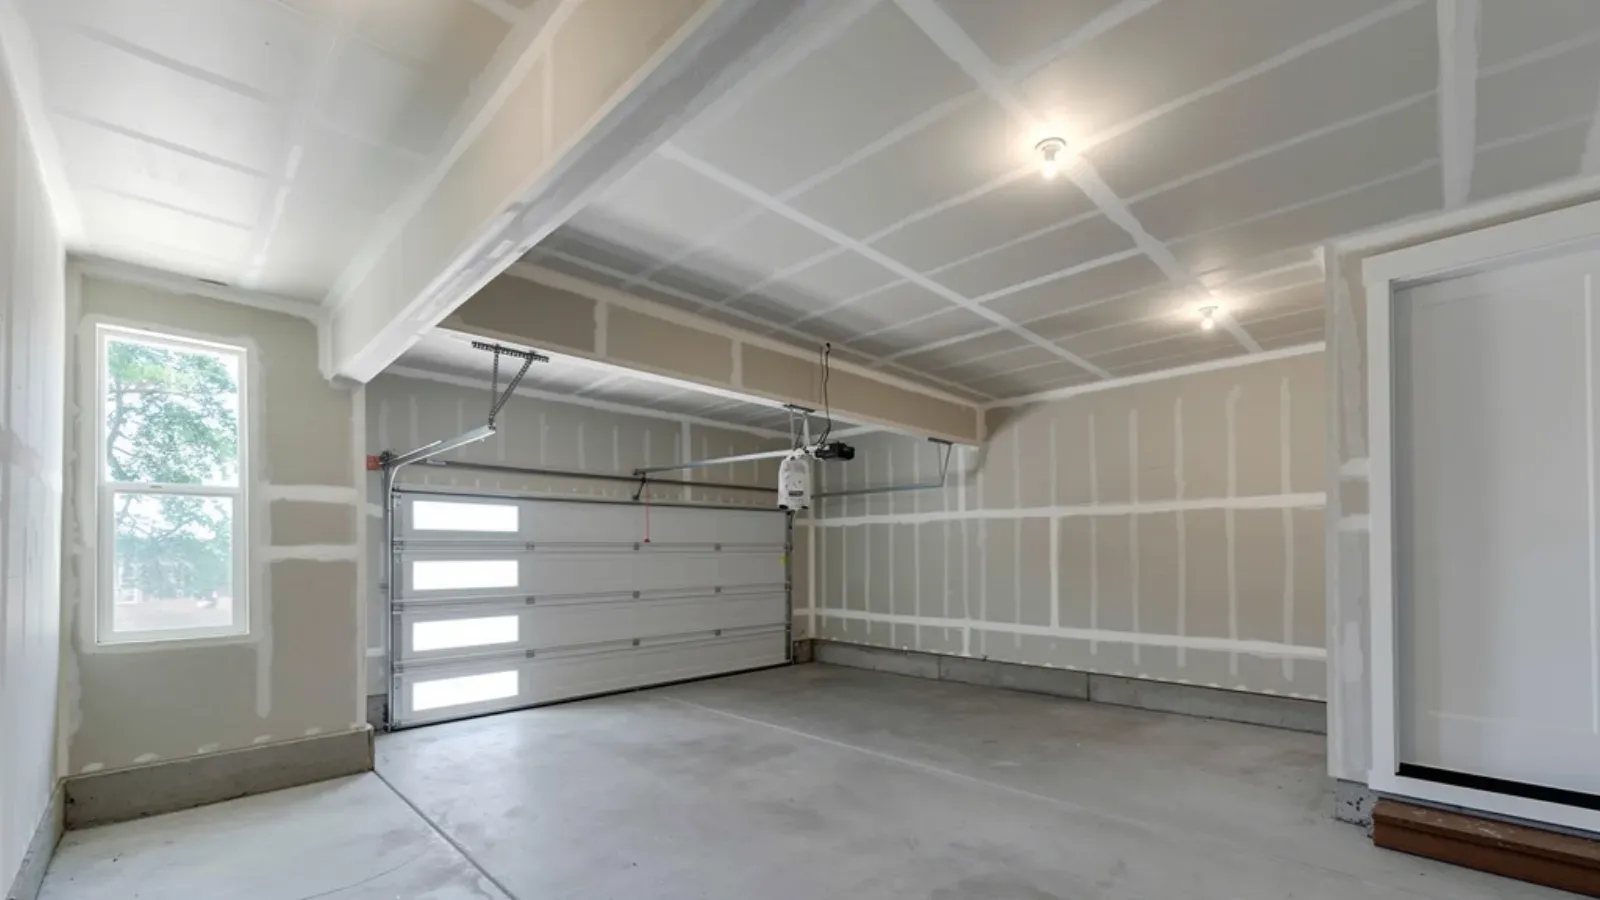
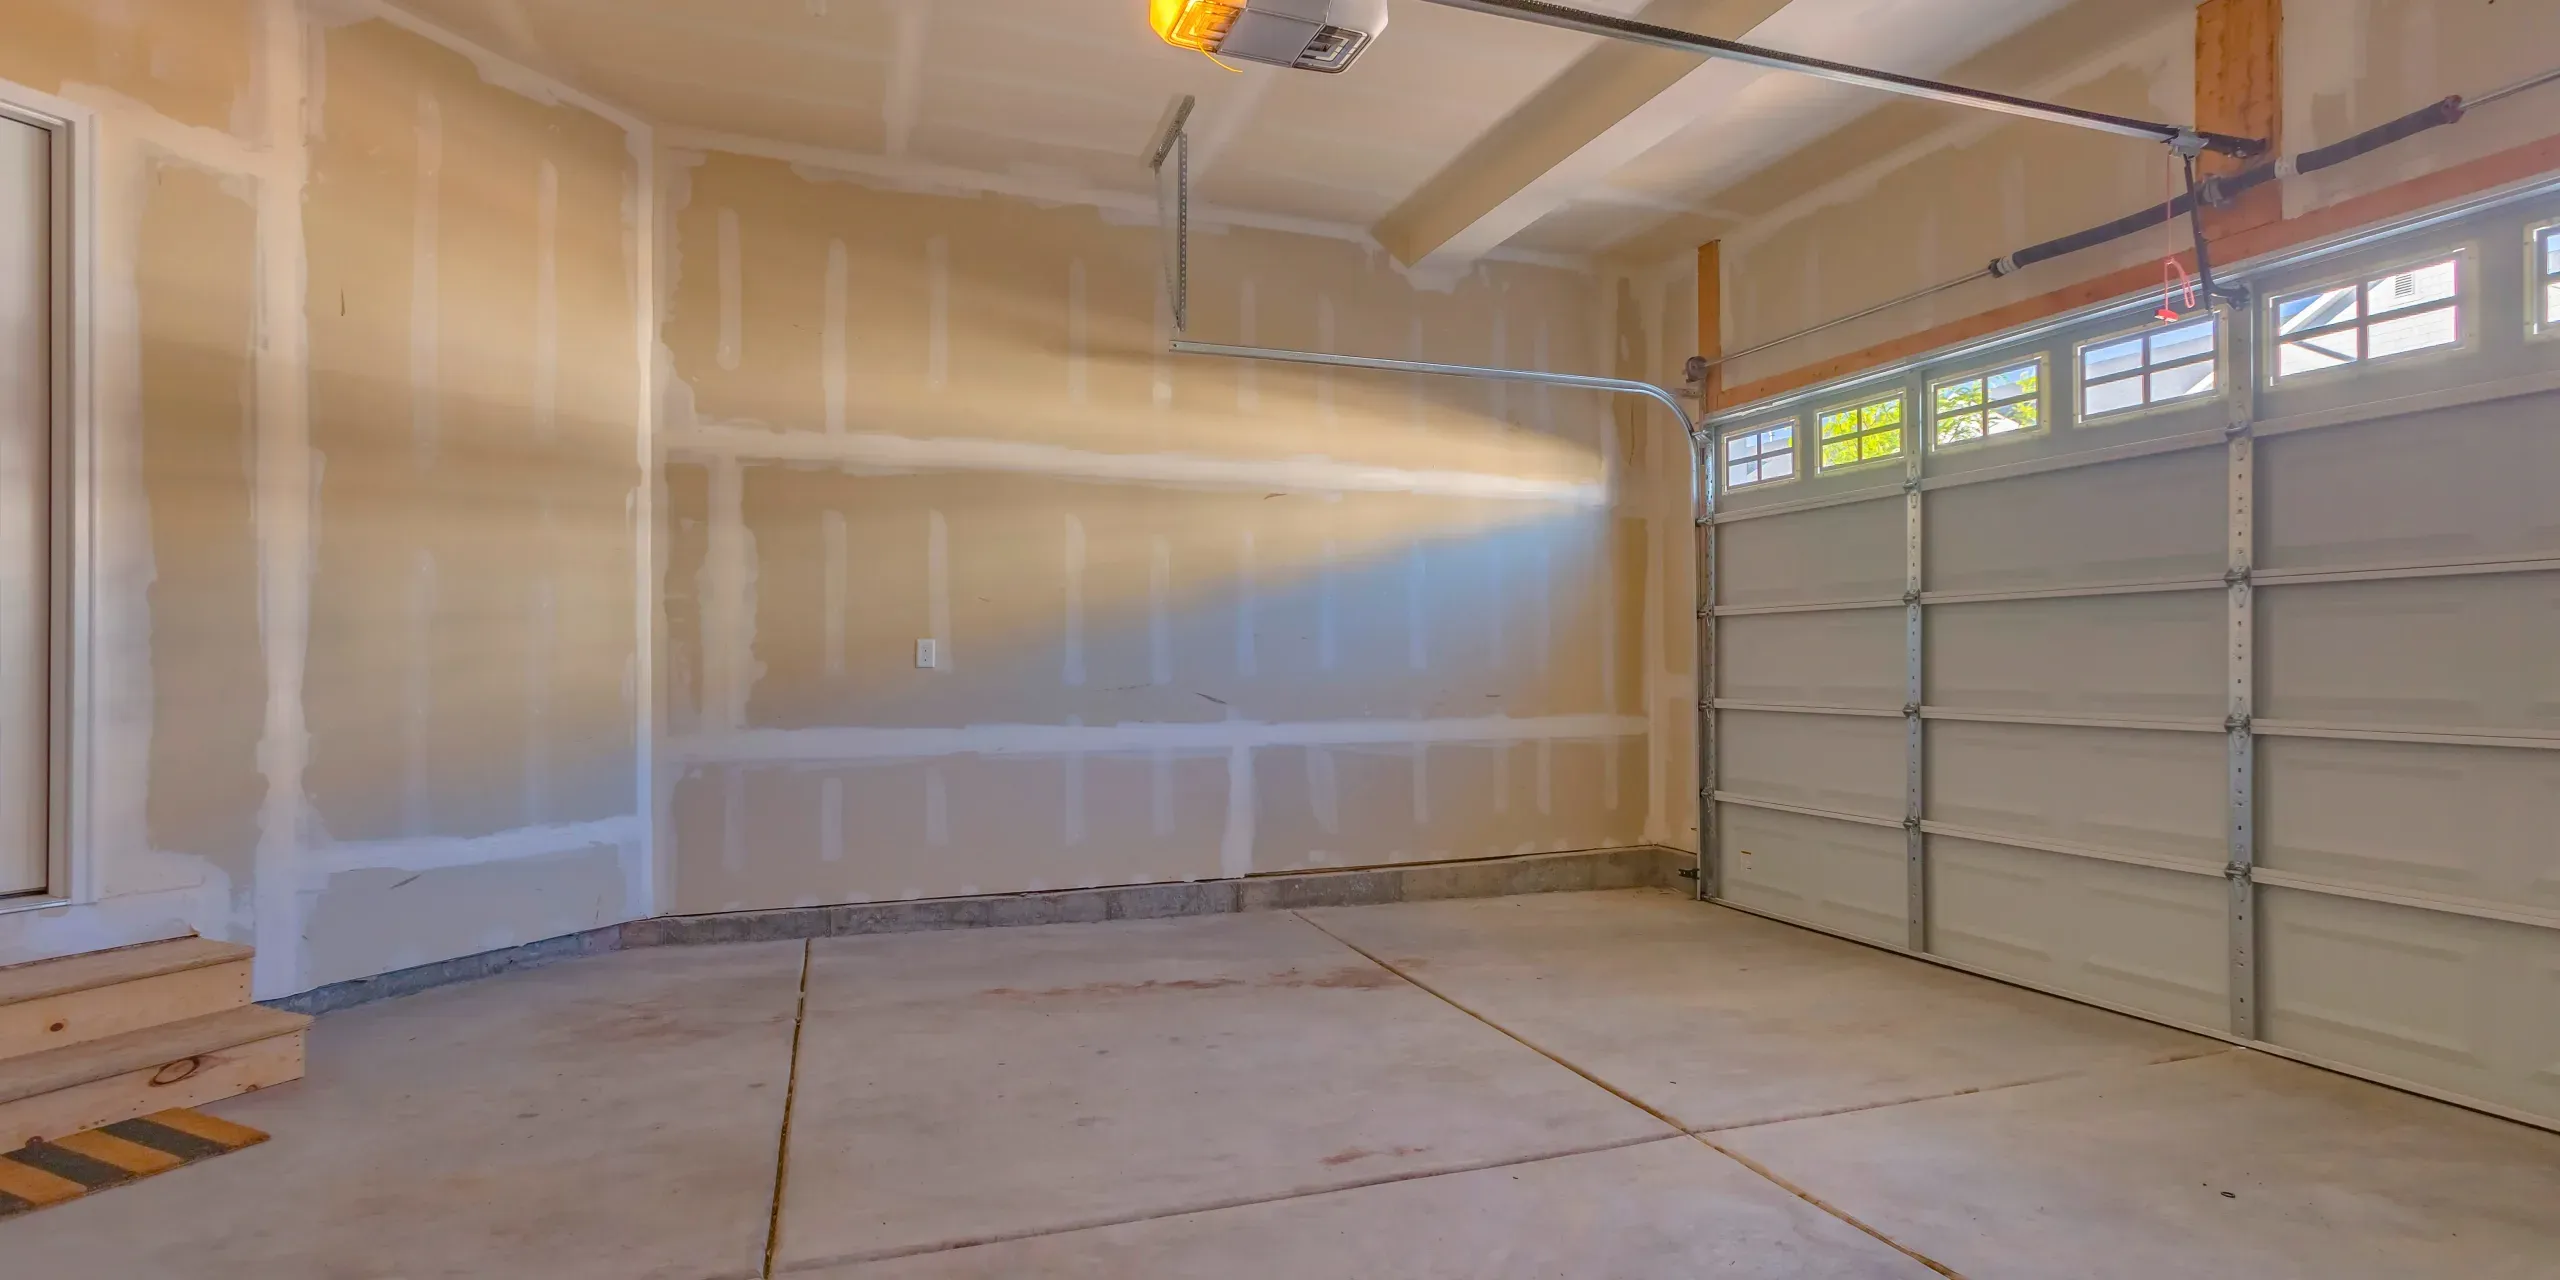
Garage interior with the walls and ceiling drywalled and taped, overhead door closed and a door through to the house

Garage Drywall & Fire Separation

An attached garage is treated differently than any other room in a house because a car, gasoline, and stored fuel-powered equipment sit a few feet from where a family sleeps. Providence Premier Drywall installs the fire-rated drywall assembly IRC R302.6 requires between an attached garage and the living space next to or above it: 5/8 inch Type X gypsum board, a formulation with glass fibers embedded in the core that resists burning through far longer than standard board, installed on the garage side of any shared wall and on the ceiling wherever a room sits above the garage.

A lot of the single-family and small multi-family stock in neighborhoods like Silver Lake, Wanskuck, and Washington Park was built or renovated before this requirement was consistently enforced. The result shows up on pre-sale punch lists as a garage wall that is bare, finished in standard board, or missing entirely where the garage meets the house. Type X board alone does not create a fire-rated assembly, though; the installation has to match a tested assembly from the UL Fire Resistance Directory, with the fastener type and spacing, joint treatment, and any penetration, a dryer vent, an electrical run, properly firestopped so the opening does not undermine the rating the board provides.

Homeowners converting garage space into a workshop, a home gym, or additional living area often assume the fire separation is a formality to handle later. It is usually the opposite: bringing the shared wall and ceiling up to code is one of the first things that needs to happen, before insulation or finish work gets signed off. Where a new room is being created above an existing garage, the ceiling below it needs the same Type X treatment as the wall.

Providence's Dept. of Inspection & Standards checks garage-to-dwelling separation on permitted work, and it is a standard item on home-sale inspections, so getting the assembly right the first time keeps a permit or a closing from stalling on a fixable gap.

See the full separation process
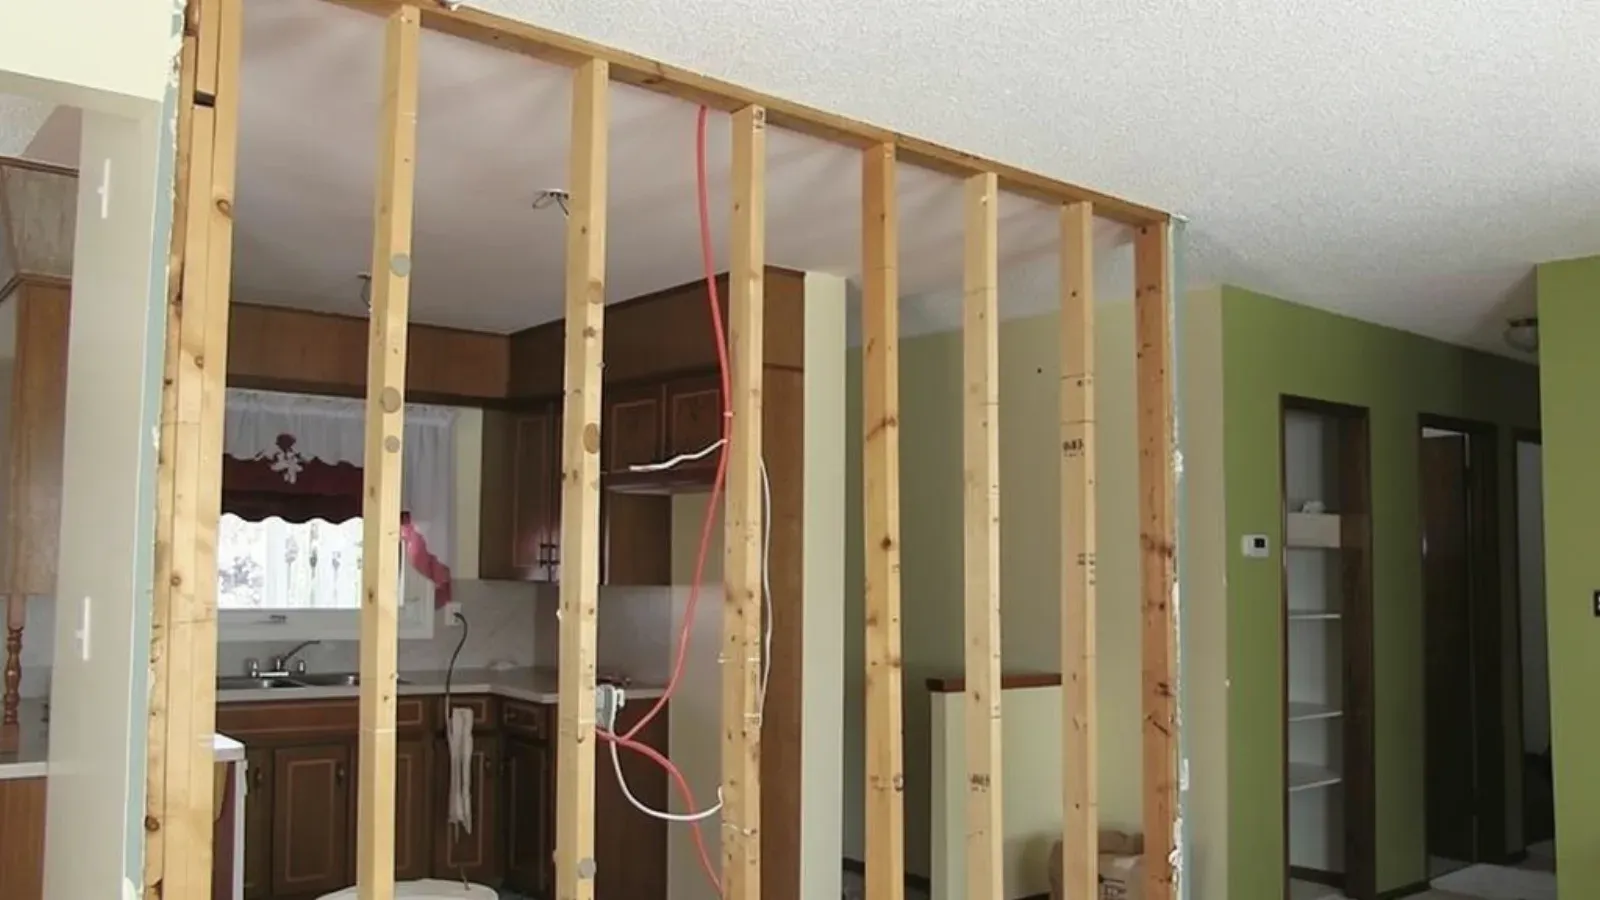
Interior partition wall stripped down to its bare wood stud framing, opening onto the kitchen beyond

Drywall Removal & Demolition

A full renovation where every wall and ceiling needs to come down to the studs, old lath-and-plaster beyond patching, or a mill-conversion floor with dated partitions to clear before new framing, all call for tear-out done right the first time. Providence Premier Drywall tears out drywall, sheetrock, and lath-and-plaster ahead of a renovation: containing dust, protecting the parts of the structure that are staying, and hauling away the debris so the space is clean and ready for the next trade.

Pulling drywall off studs is fast, comparatively light work; pulling lath-and-plaster is a different job, heavier, slower, and generating far more debris, and a plaster ceiling can drop a surprising amount of weight all at once if it isn't taken down in a controlled way. We test for asbestos before disturbing plaster, lath, or popcorn texture on any building old enough to warrant it, then set up poly containment and negative air where the scope calls for it, and protect floors and trim anywhere that's staying.

College Hill and East Side homes built before 1940 are full of lath-and-plaster construction, and that demo phase runs longer and messier than the same square footage of drywall. Providence's stock of former textile and jewelry mills in Olneyville and the Valley, along with downtown office towers converting to residential, has kept adaptive-reuse demolition steady work too, scoped against architectural drawings and coordinated with the GC's schedule rather than a simple walkthrough.

Once a space is torn out and swept clean, it's ready to hand off to framing, insulation, and new drywall hang and finish, on a schedule that keeps the rest of the renovation from stalling behind us.

See the removal process
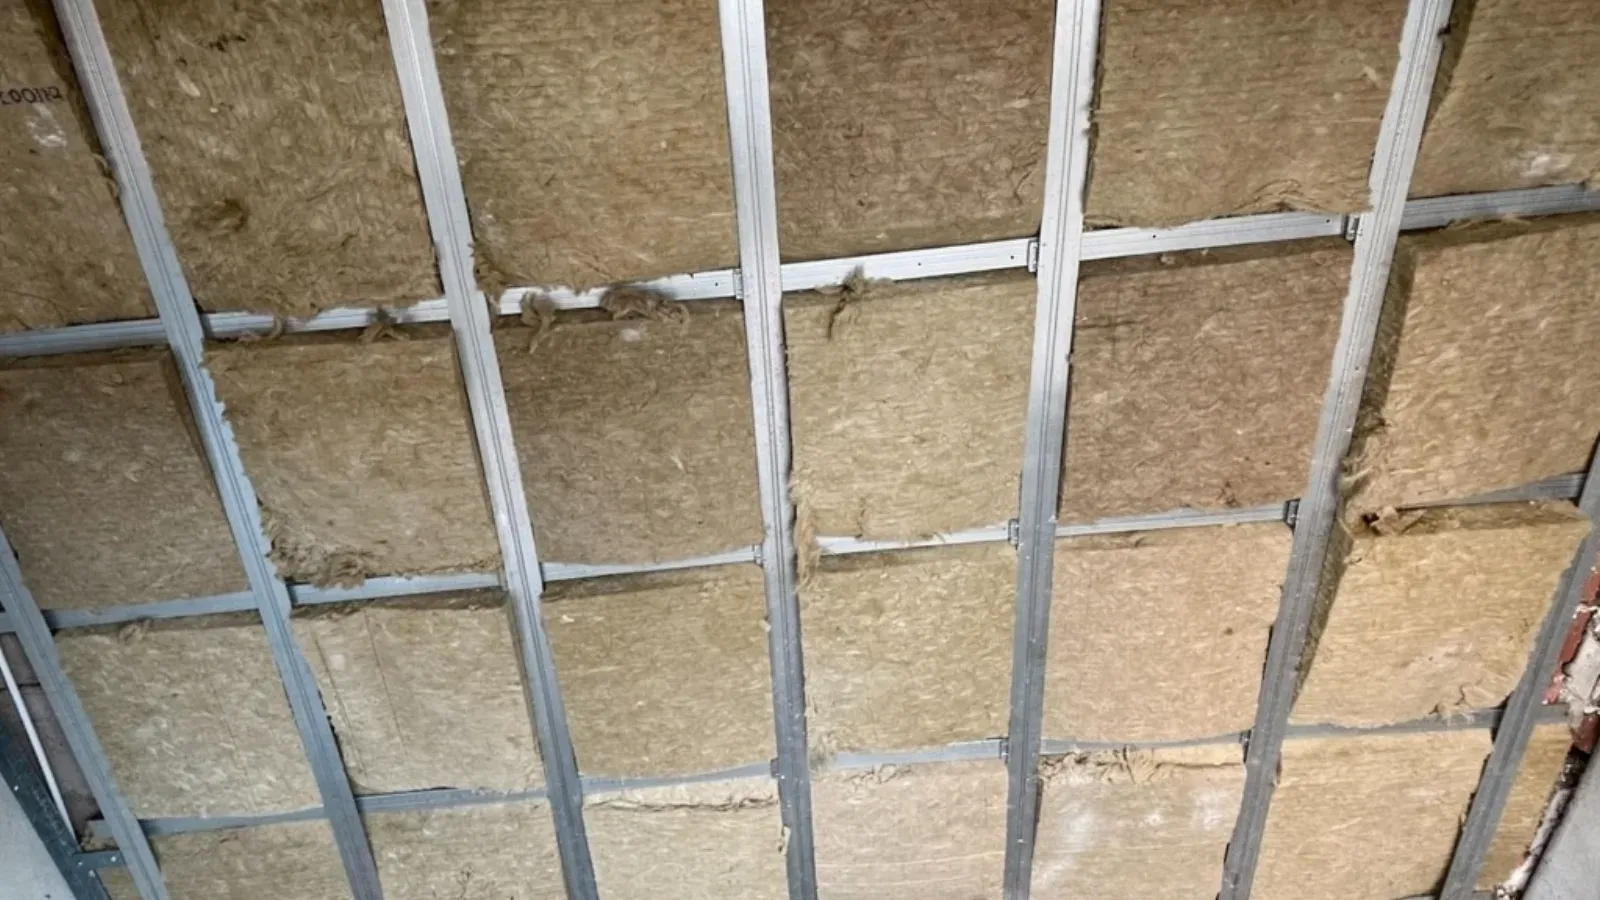
Ceiling with mineral wool insulation held between metal furring channels, before drywall is hung

Soundproof Drywall Installation

Conversations, footsteps, or a television carrying clearly through a shared wall or ceiling usually means the assembly was framed for its era, not for acoustic separation. Providence Premier Drywall builds sound-dampening wall and ceiling assemblies using mass-loaded board, damping compound, and resilient framing to reduce how much sound passes between spaces, whether the trigger is moving into a condo unit and noticing the party wall, or building out a home theater before it gets closed up.

Sound crosses a wall three ways: airborne sound passing through a light structure, structure-borne vibration riding a rigid framing connection, and flanking sound sneaking through unsealed gaps and outlets. We match the fix to the actual path, a Green Glue damping layer or QuietRock-style panel for airborne sound, resilient RC-1 channel to decouple the drywall from framing for impact noise, and sealing every penetration so a well-built assembly does not leak through the smallest untreated opening.

Providence's triple-decker belt through Federal Hill and comparable older stock was never framed for acoustic separation, and converted mill units around Olneyville and the Valley bring their own profile, concrete or heavy timber floors, metal-stud demising walls that often have fire-rated requirements layered on top of the acoustic ones. Getting the diagnosis right, a party wall problem versus a floor/ceiling problem between units, comes before any framing goes in, since the wrong assembly does not fix the actual complaint.

See the assembly options
Fire-rated drywall assembly installed across a garage wall and ceiling

Fire-Rated Drywall Assembly

An architect's drawings call out a 1-hour or 2-hour rated partition, and the GC needs a subcontractor who can build to that exact UL-listed assembly, not something that only looks code-adjacent once it's taped and painted. Providence Premier Drywall builds fire-rated partitions, shaft wall systems, and area separation walls to the specific configuration documented in the UL Fire Resistance Directory, stud gauge and spacing, board type and layer count, fastener schedule, and closes every penetration with a firestop system rated to match the wall.

The work starts from the wall schedule, not a guess. Before framing goes in, Providence Premier Drywall confirms the UL assembly that matches the required rating, then documents the build with photos and firestop product data so an inspector can verify it against the listing rather than taking it on faith. The standard is IBC Chapter 7's fire barrier and shaft enclosure provisions, checked against the specific UL Fire Resistance Directory listing.

Downtown Providence office towers carry rated corridor and demising partitions on every tenant floor. The city's mill-conversion pipeline in Olneyville and the Valley raises a harder version of the same problem, a single open floor has to be divided into distinct fire areas with a separation wall running continuous through the floor line and structure above, not stopping at a dropped ceiling. At Lifespan and Care New England hospital campuses, shaft walls and smoke barriers get opened constantly for MEP work and have to close back up to their original listed rating, not patched with whatever board is on hand.

Most rated-wall failures at inspection trace back to an unfirestopped penetration rather than the wall itself. Conduit, duct, cable tray, and plumbing all cross rated walls somewhere, and Providence Premier Drywall coordinates directly with the mechanical and electrical trades on penetration locations, tracking and closing each one with the correct listed system before the wall gets covered.

See the rated assembly process
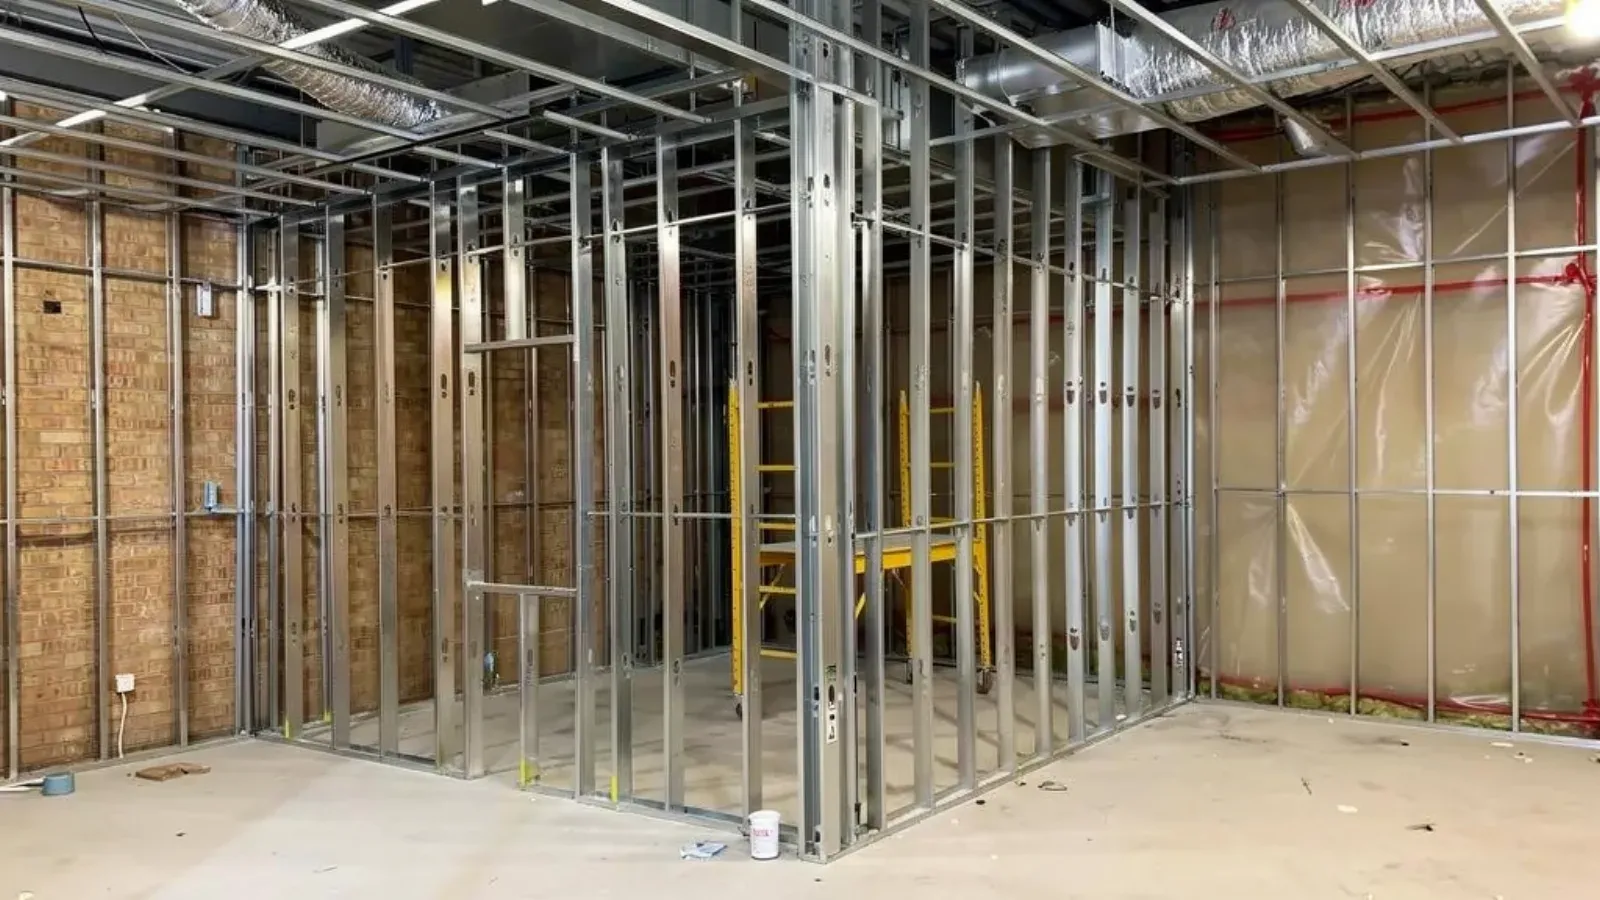
Steel stud partition walls framed inside an unfinished commercial interior, with overhead ceiling framing and ductwork

Metal Stud Framing (Commercial)

A tenant-improvement floor plan shows a full layout of interior partitions and demising walls that has to go in before any other trade can start, and a GC staging that schedule needs framing that matches the stamped plan exactly. Providence Premier Drywall frames commercial interiors in light-gauge steel: demising walls between tenants, interior partitions across a full floor plate, headers over every door and window opening, and deflection track where the structure above moves independently of the wall.

The layout starts on the deck, not by eye. Providence Premier Drywall lays out plate lines from the architect's stamped floor plan before any track goes down, sets top and bottom track with the deflection allowance the structural engineer calls for, and frames studs to the specified spacing and gauge, with headers built into every opening. The work follows ASTM C840 and ASTM C1396 and the RI State Building Code.

Downtown Providence office towers stage tenant improvements floor by floor, each with a fresh interior layout and a demising wall separating the new tenant from the corridor and neighboring suites. Restaurant and retail build-outs along Federal Hill's Atwells Avenue corridor are a smaller footprint but a denser one, kitchen, dining, and back-of-house walls that all have to match a plan already through health-department review, with headers at every pass-through.

A framed wall that runs straight to a steel deck without accounting for structural movement eventually cracks at the top, so where the engineer calls for it, the top track is detailed as a deflection or slip-track condition. Providence Premier Drywall walks the framed layout with the GC or project manager before handoff, confirming headers, bracing, and deflection details against the plan so MEP rough-in can start without waiting on a correction.

See the framing process
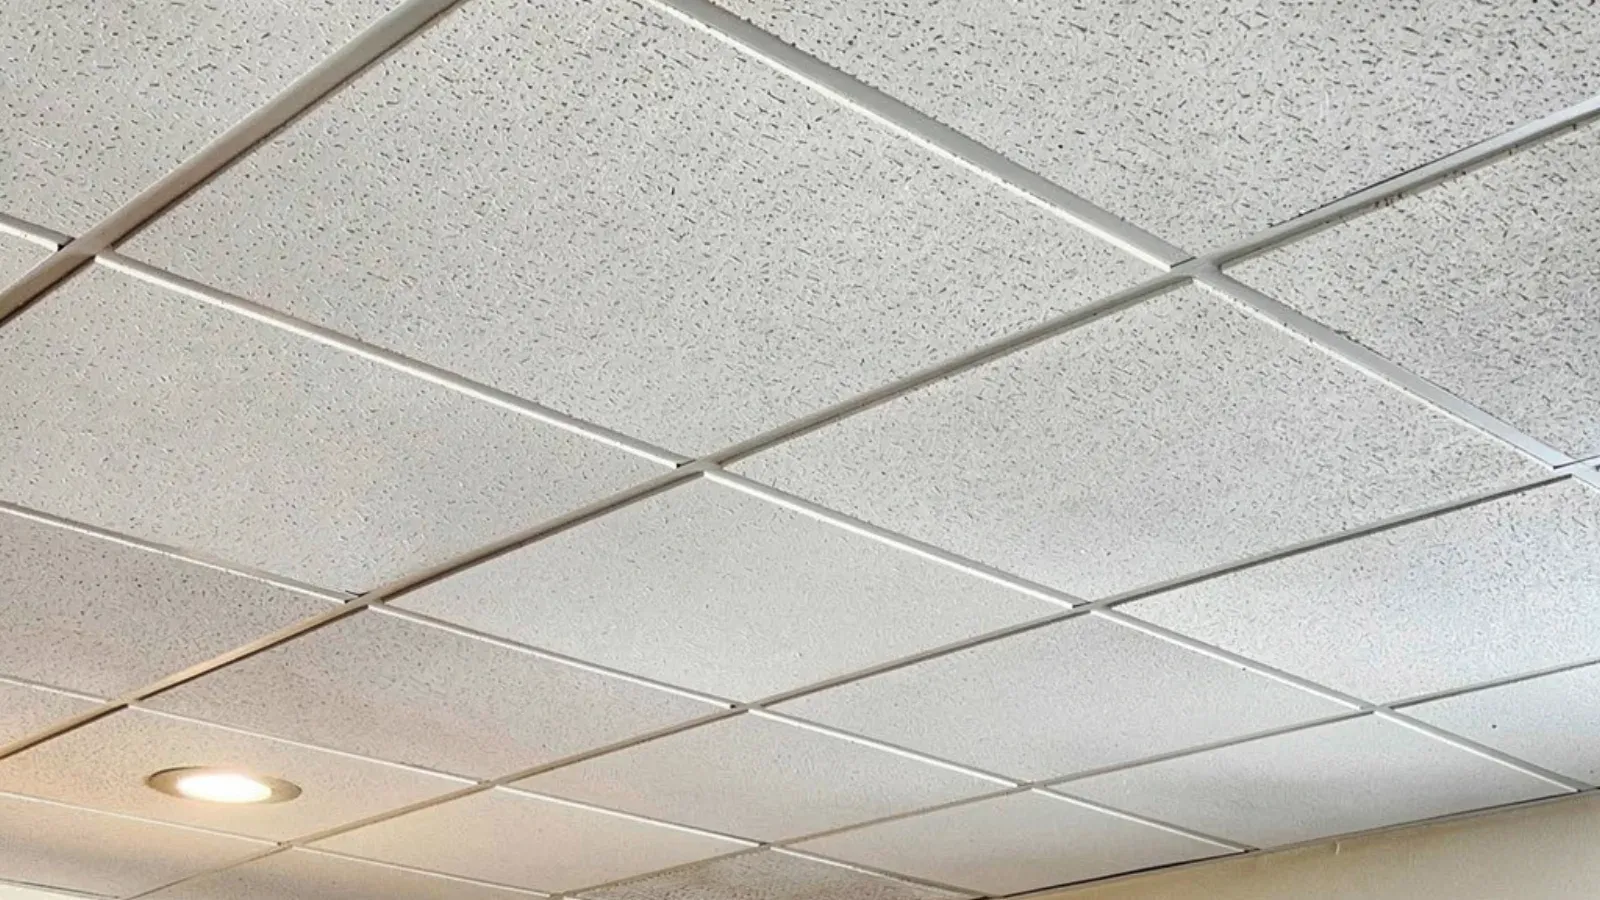
A suspended acoustic tile ceiling with every panel set into a white T-bar grid

Drop Ceiling Installation

Stained, sagging, or cracked ceiling tile in an office suite or classroom is one call; a reflected ceiling plan on a new build-out that needs a grid coordinated with lights, diffusers, and sprinkler heads before the space can open is another. Providence Premier Drywall installs and repairs suspended acoustical ceiling systems: laying out the grid to the reflected ceiling plan, hanging and leveling main runners and cross tees, and setting tile once cutouts for every fixture are coordinated.

The grid gets built against the drawings, not adjusted around fixtures after the fact. Providence Premier Drywall confirms the layout against the mechanical and electrical drawings before hanging wire, sets hanger wire and main runners to the plan's elevation, and installs cross tees to complete the module. The work follows ASTM E90 and STC acoustic ratings and the C635/C636 suspension system specifications.

Providence's universities, Brown, RISD, Providence College, and Johnson & Wales, regularly call for a full suspended grid to a reflected ceiling plan in classroom and library renovations, coordinating lighting, HVAC diffusers, and fire-protection heads. Downtown office towers and civic buildings carry the other half of the work: corridors, conference rooms, and common areas where tile ages, stains from a leak above, or needs replacing as part of a tenant turnover.

Most of what determines whether a ceiling package goes smoothly happens above the tile. Every fixture the electrician, mechanical contractor, and fire-protection contractor places has to land inside a grid module without forcing an awkward cut, so Providence Premier Drywall sets the layout against those drawings before a single runner goes up. When a space gets replanned, walls moved, fixtures relocated, the grid gets reconfigured to the new module rather than patched around the mismatch.

See the ceiling grid process

Get a fast, no-pressure quote

Call or send a few details — we serve Providence and the surrounding area.

Call (401) 593-5650

Call Now