
Signs you need this
- • A patch that is structurally fine but visibly flatter or smoother than the texture around it, showing up as a dull rectangle under normal light.
- • A previous repair left as bare compound with no texture applied at all.
- • Knockdown or orange-peel texture that looks slightly different in stipple size or pattern from one section of a wall or ceiling to the next.
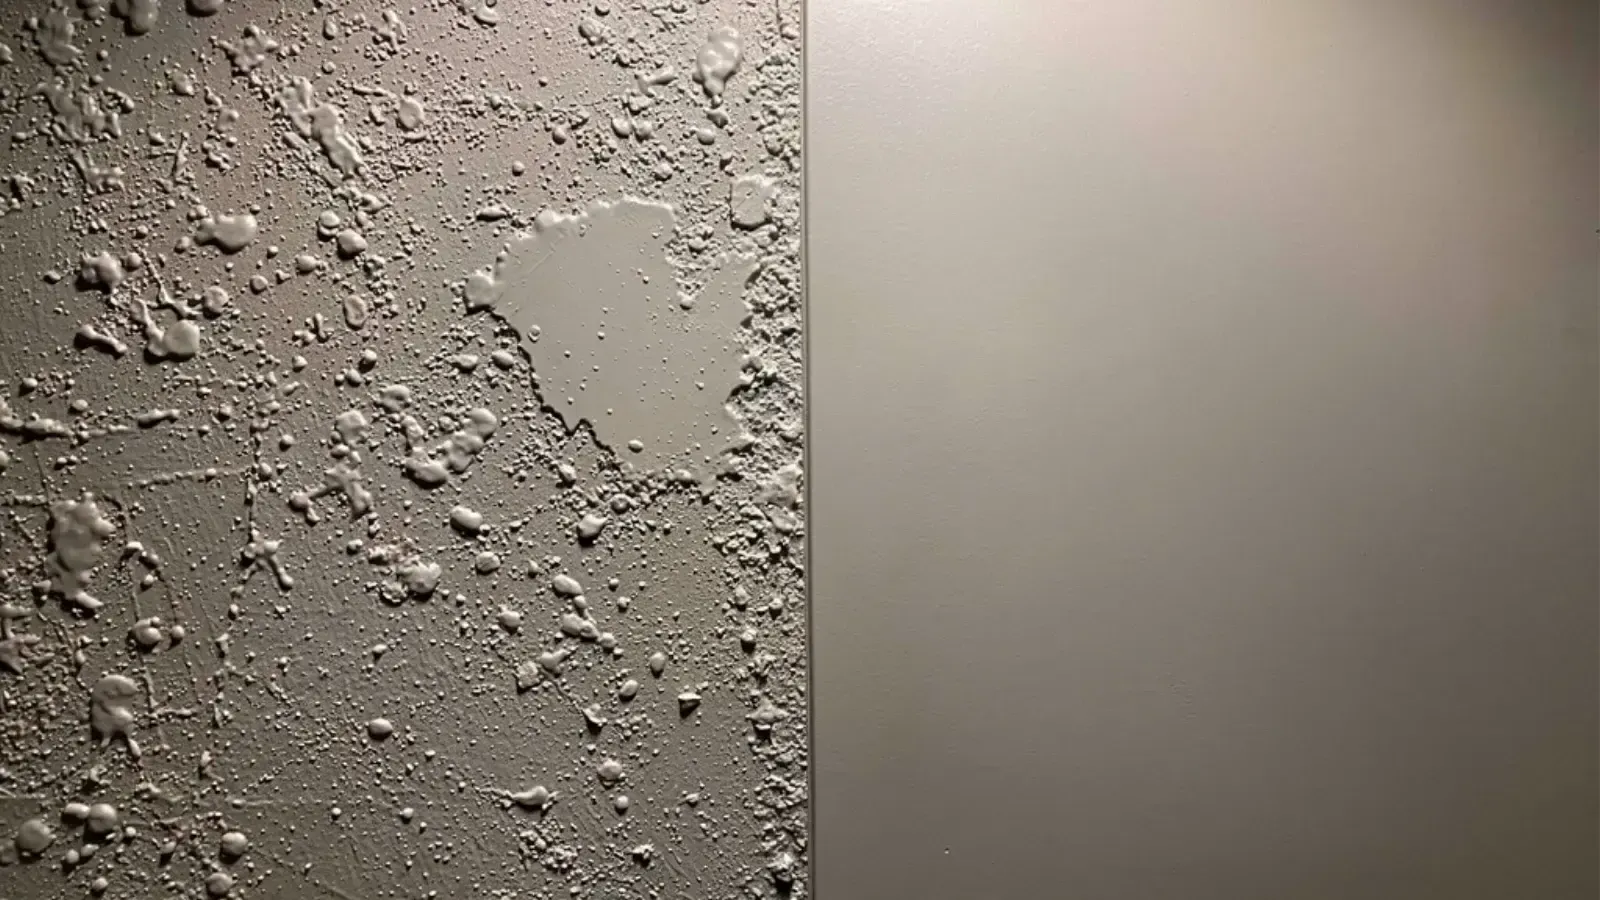
Providence Premier Drywall matches new patch work to existing knockdown, orange-peel, or stomp/skip-trowel texture so the repair disappears into the surrounding wall or ceiling. This is not about removing texture, it is about reproducing it: matching the stipple size, the pattern spacing, and the sheen of the surrounding surface closely enough that a finished patch cannot be picked out by eye. We look at the existing texture first, test the match on the actual wall, and only proceed once it reads correctly next to the original.
Matching texture is a different skill than hanging drywall
A patch can be structurally perfect, flush, taped, fully cured, and still stand out the moment paint hits it, because the problem was never the repair itself, it is the surface texture around it. Knockdown, orange peel, and stomp or skip-trowel finishes are not random, they are a specific spray pattern and, for knockdown, a specific flattening step applied at a specific pressure and timing. Reproducing that on a small patch, matching the same stipple size, the same spacing, the same degree of flattening, is a different skill from cutting in a patch and sanding it smooth. It is the last five percent of a repair, and it is the five percent most homeowners notice most, because a flat patch in a textured wall reads as damage even after it has been fixed.
Why we test before we commit
The biggest mistake in texture matching is applying the real texture straight to the patch and hoping it matches. Spray pattern, compound consistency, and even the humidity in the room that day all affect how a texture lays down, so we test the technique first, on a scrap board or a hidden section of the same wall, and compare it to the surrounding surface under the room’s actual light before touching the visible patch. If the stipple is too fine, too coarse, or spaced wrong, we adjust the mix or the technique and test again. That extra step is what keeps a texture match from becoming its own visible mistake sitting next to the one it was meant to fix.
The rental and turnover angle in Providence
A large share of this work in Providence comes from landlords and property managers across the West End and Elmwood turning over rental units between tenants. A hole from a removed shelf bracket, a patched spot where a fixture used to hang, a repair left by a plumber or electrician after they closed up a wall, all of it needs to disappear before a unit is shown or re-leased, because a tenant walking through a unit notices an obvious patch the same way a buyer would. Texture matching on these jobs is often fast, a handful of small spots across a unit, but the standard does not drop: each patch gets tested and matched individually, since texture can vary even within the same building depending on when a wall was last redone.
Feathering the edge is what makes it disappear
Even a well-matched texture will show a hard edge if the transition from new to old stops abruptly, so the last step on every job is feathering, blending the new texture’s edge gradually into the surrounding surface rather than ending it at a sharp line. Combined with a texture and stipple that already match, a properly feathered edge is what makes a patch genuinely disappear rather than simply look close. It is a small detail, but it is the difference between a patch a homeowner has to point out to a guest and one nobody in the room would ever find without being told exactly where to look.
Materials & standards
Products & materials we use
- Pre-mixed and setting-type joint compound
- FibaTape mesh tape
- Texture sprayer equipment
- PVA primer
Standards & codes we work to
- ASTM C840
- ASTM C475
What the terms mean
- Knockdown texture
- Orange peel
- Stomp / skip-trowel texture
- Texture matching
- Feathering
- Stipple pattern
- Blend patch
Options & variants
| Option | When it applies | Cost |
|---|---|---|
| Knockdown match | Existing wall or ceiling has stomped and flattened splatter texture | Standard scope |
| Orange peel match | Existing surface has a fine, even stipple texture | Standard scope, sprayer-dependent |
| Stomp / skip-trowel match | Existing surface has a heavier, hand-troweled texture pattern | More hand-finishing time |
What affects cost
- • Texture type and how closely it has to be reproduced, since a fine orange-peel pattern is less forgiving of small mismatches than a heavier knockdown.
- • Size of the patch versus the size of the surrounding wall, since a small patch on a large uniform surface has to match more precisely.
- • Whether the surrounding texture is consistent to begin with, since some older walls already vary slightly from section to section.
- • Lighting in the room, since raking or strong natural light exposes even a close texture mismatch.
- • Ceiling versus wall, since ceiling texture repairs sit under more direct scrutiny from below.
What to expect
- 1
Call and describe the patch
You describe where the patch is and what the surrounding texture looks like, and we ask about the room and how noticeable it currently is.
- 2
Inspect the existing texture
We come out and look at the existing texture up close, stipple size, pattern spacing, and how it was originally applied.
- 3
Prep the patch
We make sure the compound underneath is fully cured and sanded flush before texture goes on.
- 4
Test the technique
We test the texture on a scrap board or an inconspicuous spot first, checking it against the surrounding wall before committing.
- 5
Apply and feather
We apply the matched texture to the patch, feathering the edges so the transition disappears rather than stopping at a hard line.
- 6
Prime and paint
We prime and, if you want, paint the area so the finished patch reads as part of the original wall.
When this isn’t the right call
- If the goal is removing texture entirely for a smooth, glass-flat wall rather than matching a patch into existing texture, skim coat and Level 5 finish is the better fit.
- If the ceiling in question is dated popcorn texture that needs to come off, not a small patch matched into it, popcorn ceiling removal is the better fit.
- If the wall or ceiling has an active leak or unresolved water damage under the texture, water damage drywall repair is the better fit.
Frequently asked questions
Why does my patch still show even after it's painted? +
Paint does not hide a texture mismatch, it exposes it. A flat, smooth patch next to knockdown or orange-peel texture reflects light differently than the surrounding surface, and paint just makes that difference easier to see, not harder. The patch needs texture applied and matched before it goes invisible.
Can you match texture that another contractor left bare? +
Yes, this is one of the most common calls we get. A plumber, electrician, or another contractor often patches a hole structurally but has no reason to texture-match it, since that is a drywall finisher's job. We take over from a bare, cured patch and match it into the surrounding wall or ceiling.
How do you know the texture will actually match before you commit? +
We test it first. Before applying texture to the real patch, we try the technique on a scrap piece or a hidden spot and compare it against the surrounding wall under the room's actual light. If it is off, we adjust the technique or the mix before touching the visible patch.
What's the difference between knockdown and orange peel? +
Orange peel is a fine, even stipple, sprayed on and left as-is, producing a texture that looks like the skin of the fruit. Knockdown starts the same way but gets lightly flattened with a trowel or knife before it sets, leaving a mottled, less uniform pattern. Matching either one requires reproducing both the spray pattern and the flattening step, not just the general look.
Will the patch be completely invisible? +
That is the goal, and on most walls it is achievable, especially once painted. Very fine or very evenly applied original texture is the hardest to match perfectly, since there is less natural variation to blend into, but even then a well-matched patch under normal lighting is not something a homeowner or a buyer walking through the room will pick out.
Do you match ceiling texture too, not just walls? +
Yes. Ceiling texture, whether knockdown or a lighter stipple, gets the same treatment: matched pattern, feathered edges, and a test pass before the real patch, since ceiling repairs sit under more direct light and more scrutiny from below than most wall patches do.